Run Terraform Template to deploy AWS Resources
1. Download the project files from GitHub and unzip the files.
2. Change Directory to project files folder.
3. run the following commands
Command: terraform init
Command: terraform apply
Accessing Bastion and Cluster
4. Access the bastion host to access the Kubernetes cluster within the private network.
5. Enter AWS access key credentials to get access to AWS Resources.
Command: aws configure
6. Download kubeconfig file that has the settings for connecting to the cluster.
Command: aws eks update-kubeconfig --region <AWS Region> --name eksCluster
7. Verify that the bastion host can connect to the cluster.
Command: kubectl version
Install Helm to aid in installing the Ingress Controller
1. Run the following commands to install
Command: curl -fsSL -o get_helm.sh https://raw.githubusercontent.com/helm/helm/main/scripts/get-helm-3
Command: chmod 700 get_helm.sh
Command: ./get_helm.sh

Create the Ingress Controller
Note: The ingress controller allows outbound public access while keeping the cluster private.
Install Nginx Ingress
1. Run command in bastion host to install Nginx Ingress Controller.
Command: helm upgrade --install ingress-nginx ingress-nginx --repo https://kubernetes.github.io/ingress-nginx --namespace ingress-nginx --create-namespace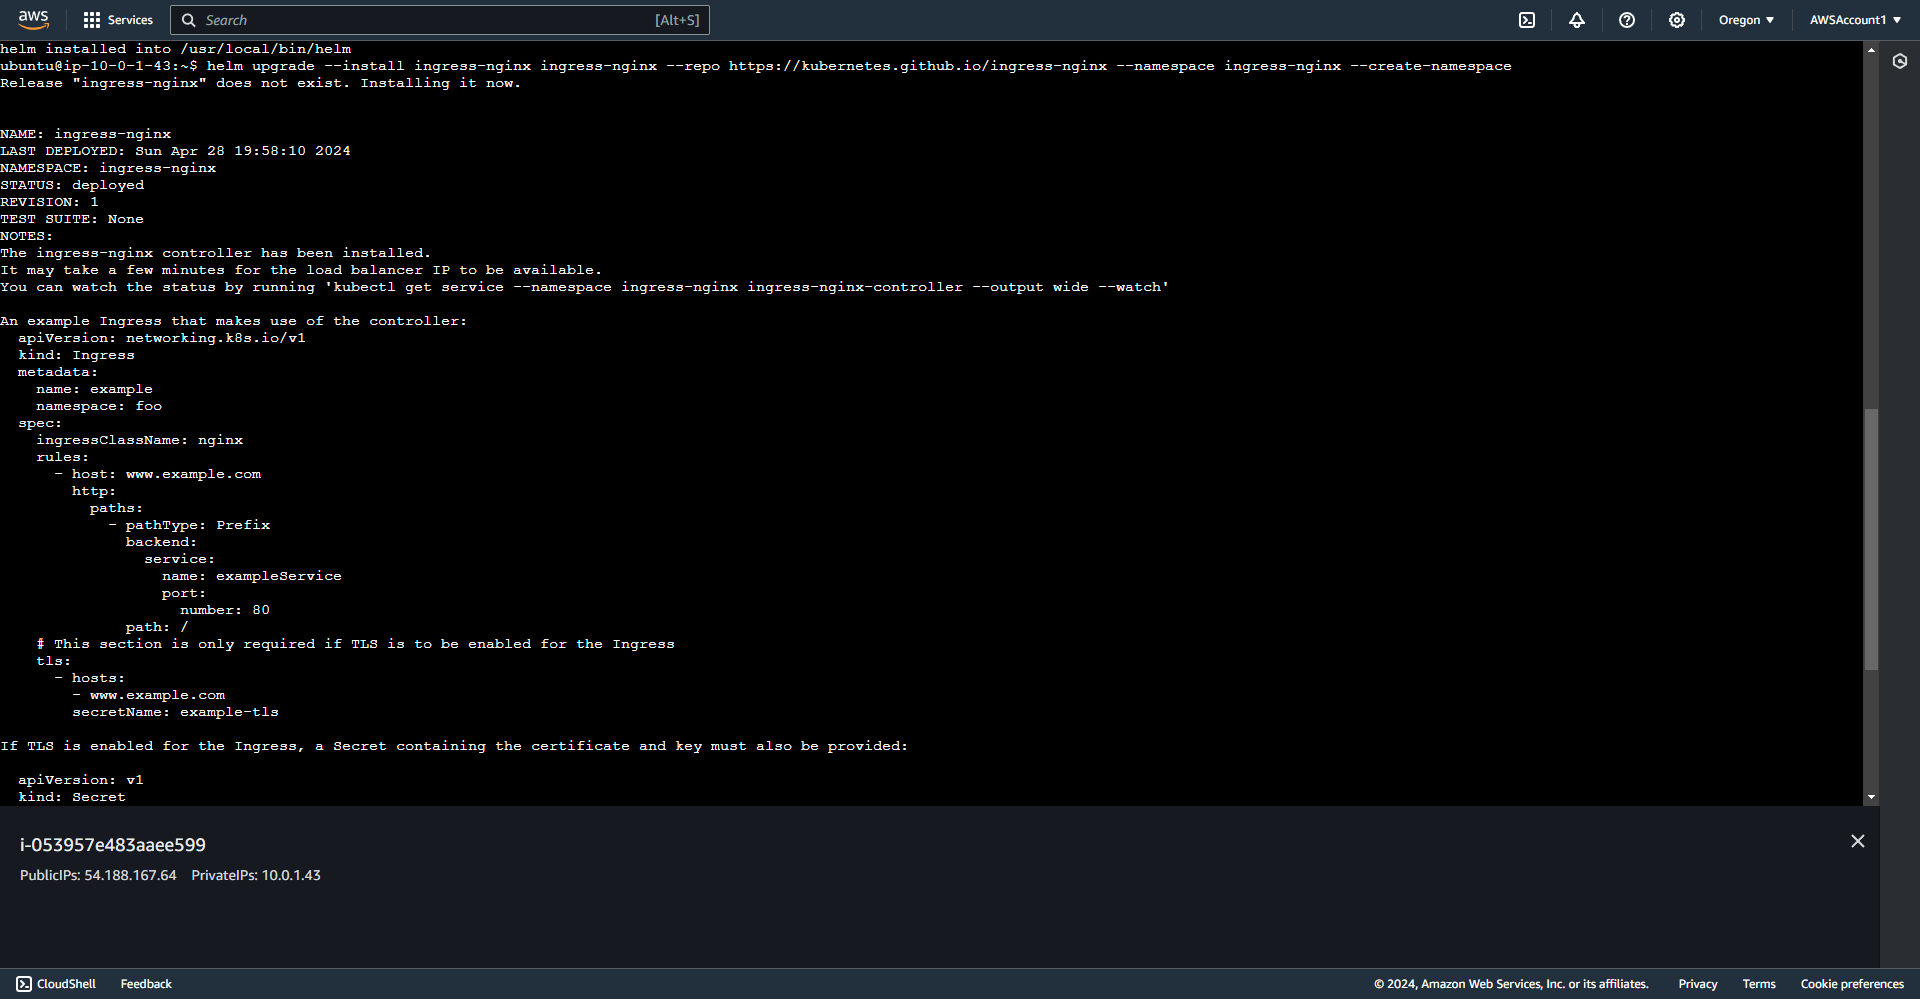
2. Check that ingress-nginx namespace has been created
Command: kubectl get namespaces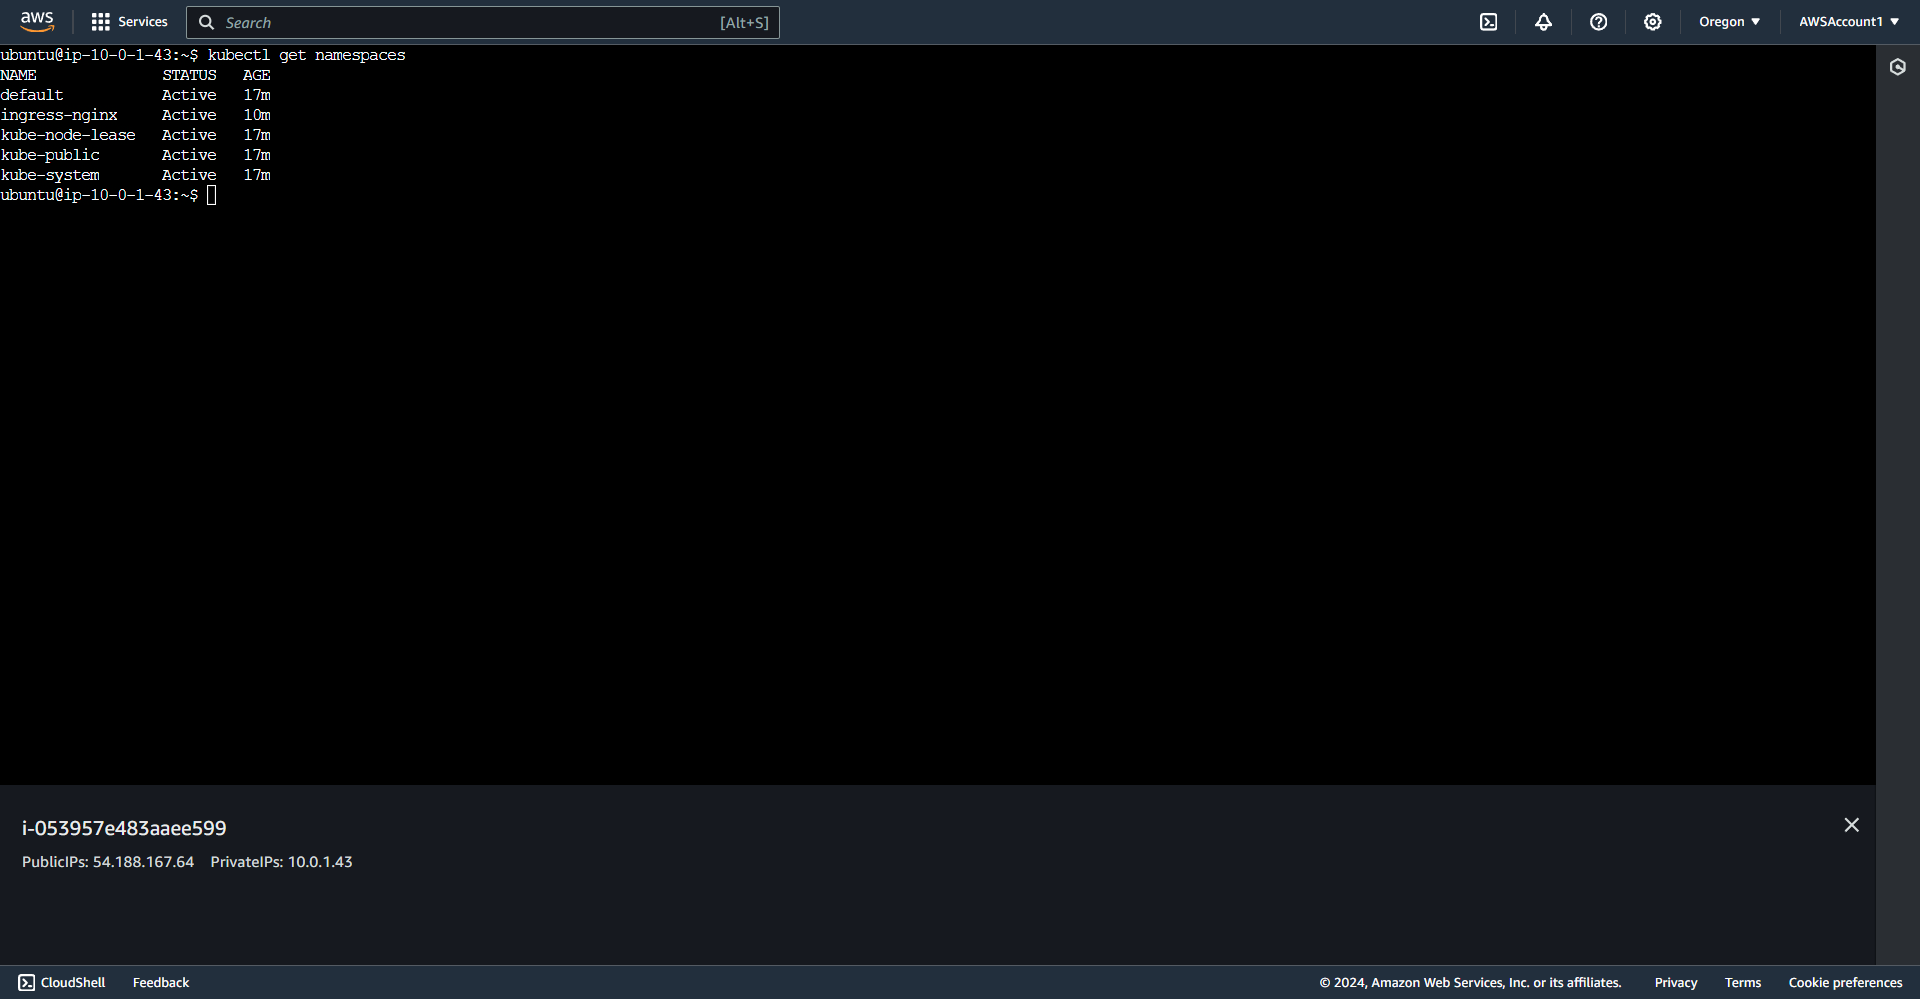
3. Check that ingress-nginx pod is running
Command: kubectl get pods -n ingress-nginx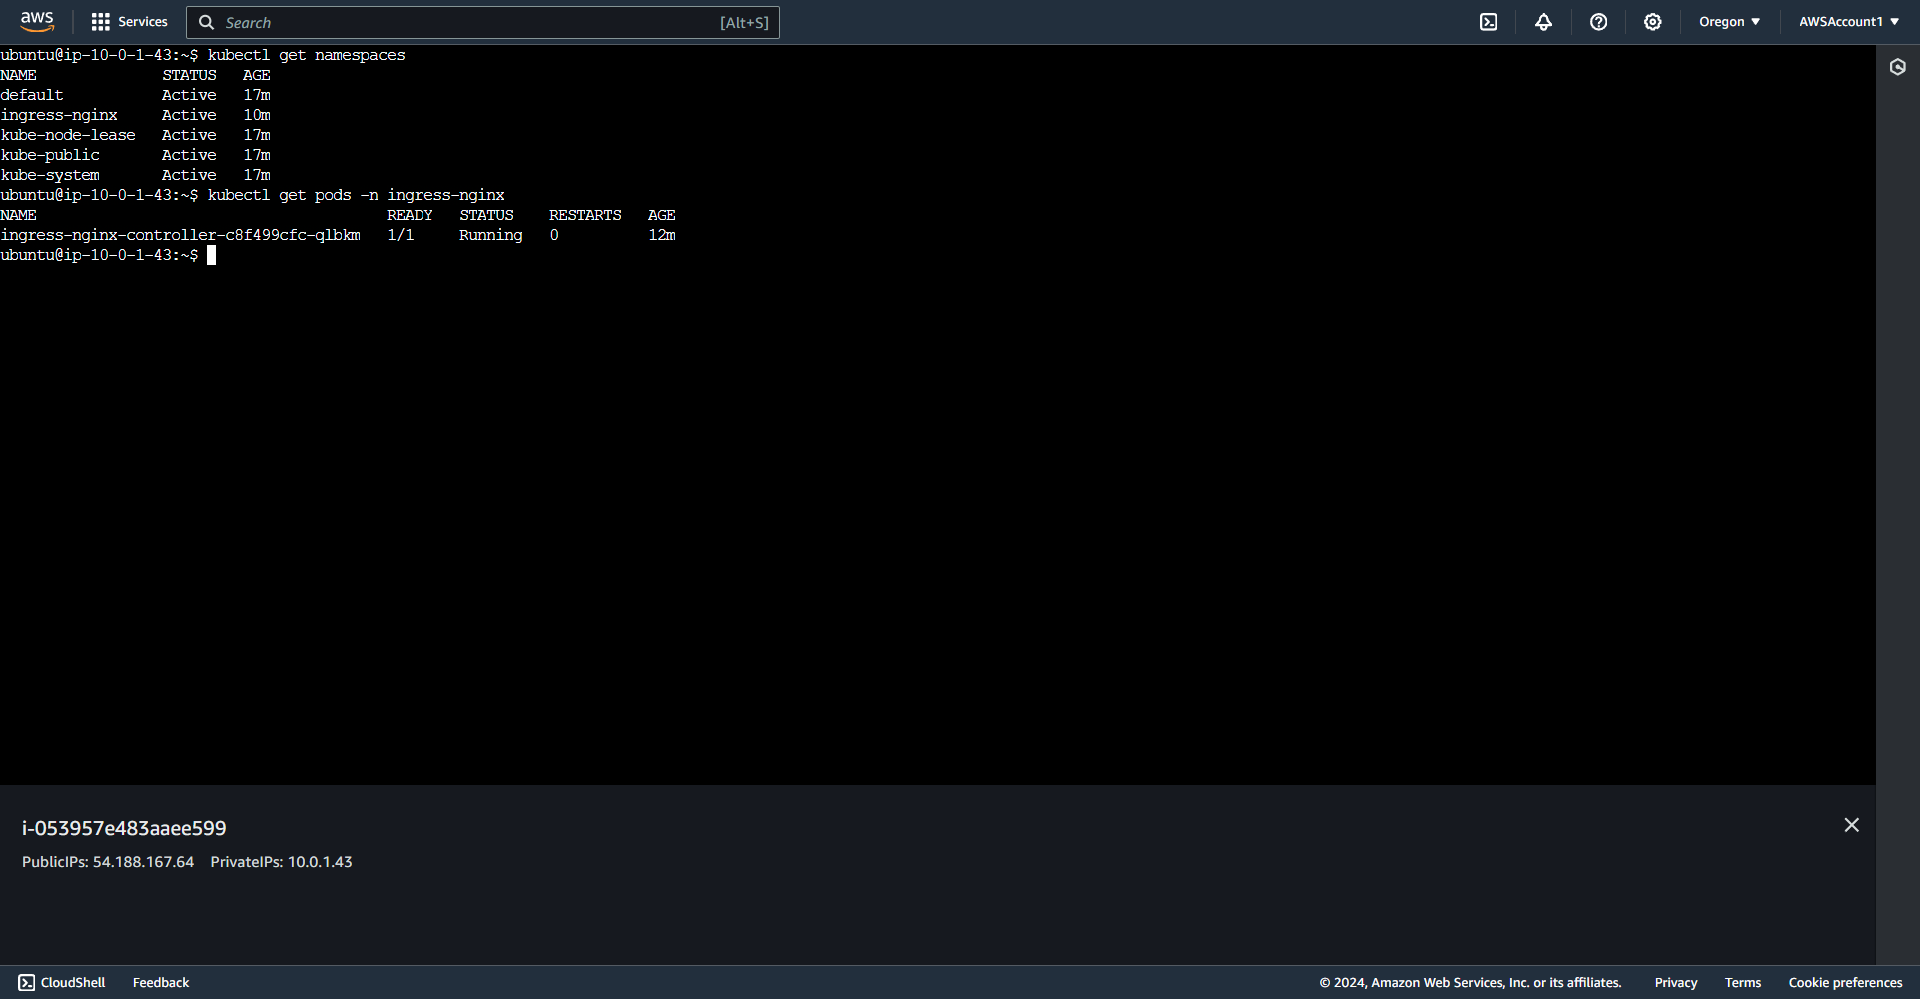
4. A load balancer is auto created after deploying ingress. Resource will show up under EC2 > Load Balancers.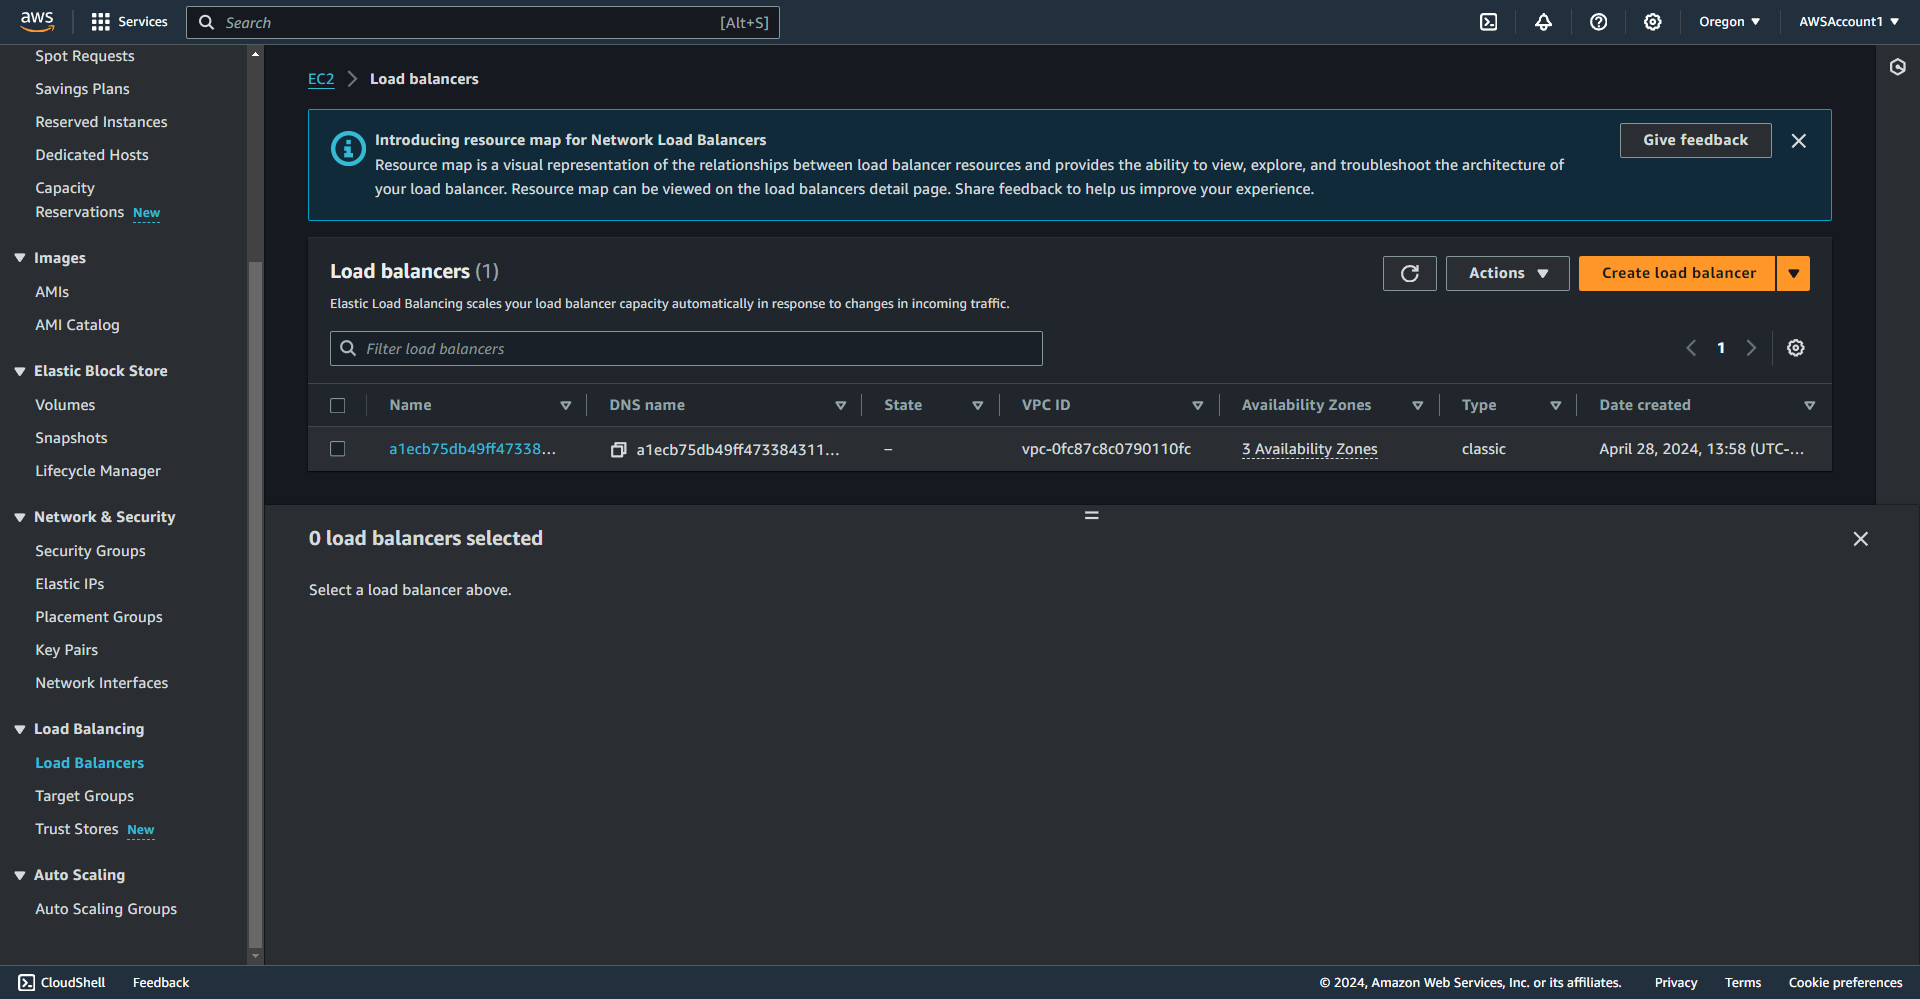
5. Public facing DNS name will show up on the Load Balancer's details screen. The DNS address will be used to connect to the cluster publicly once the Kubernetes Configurations are applied.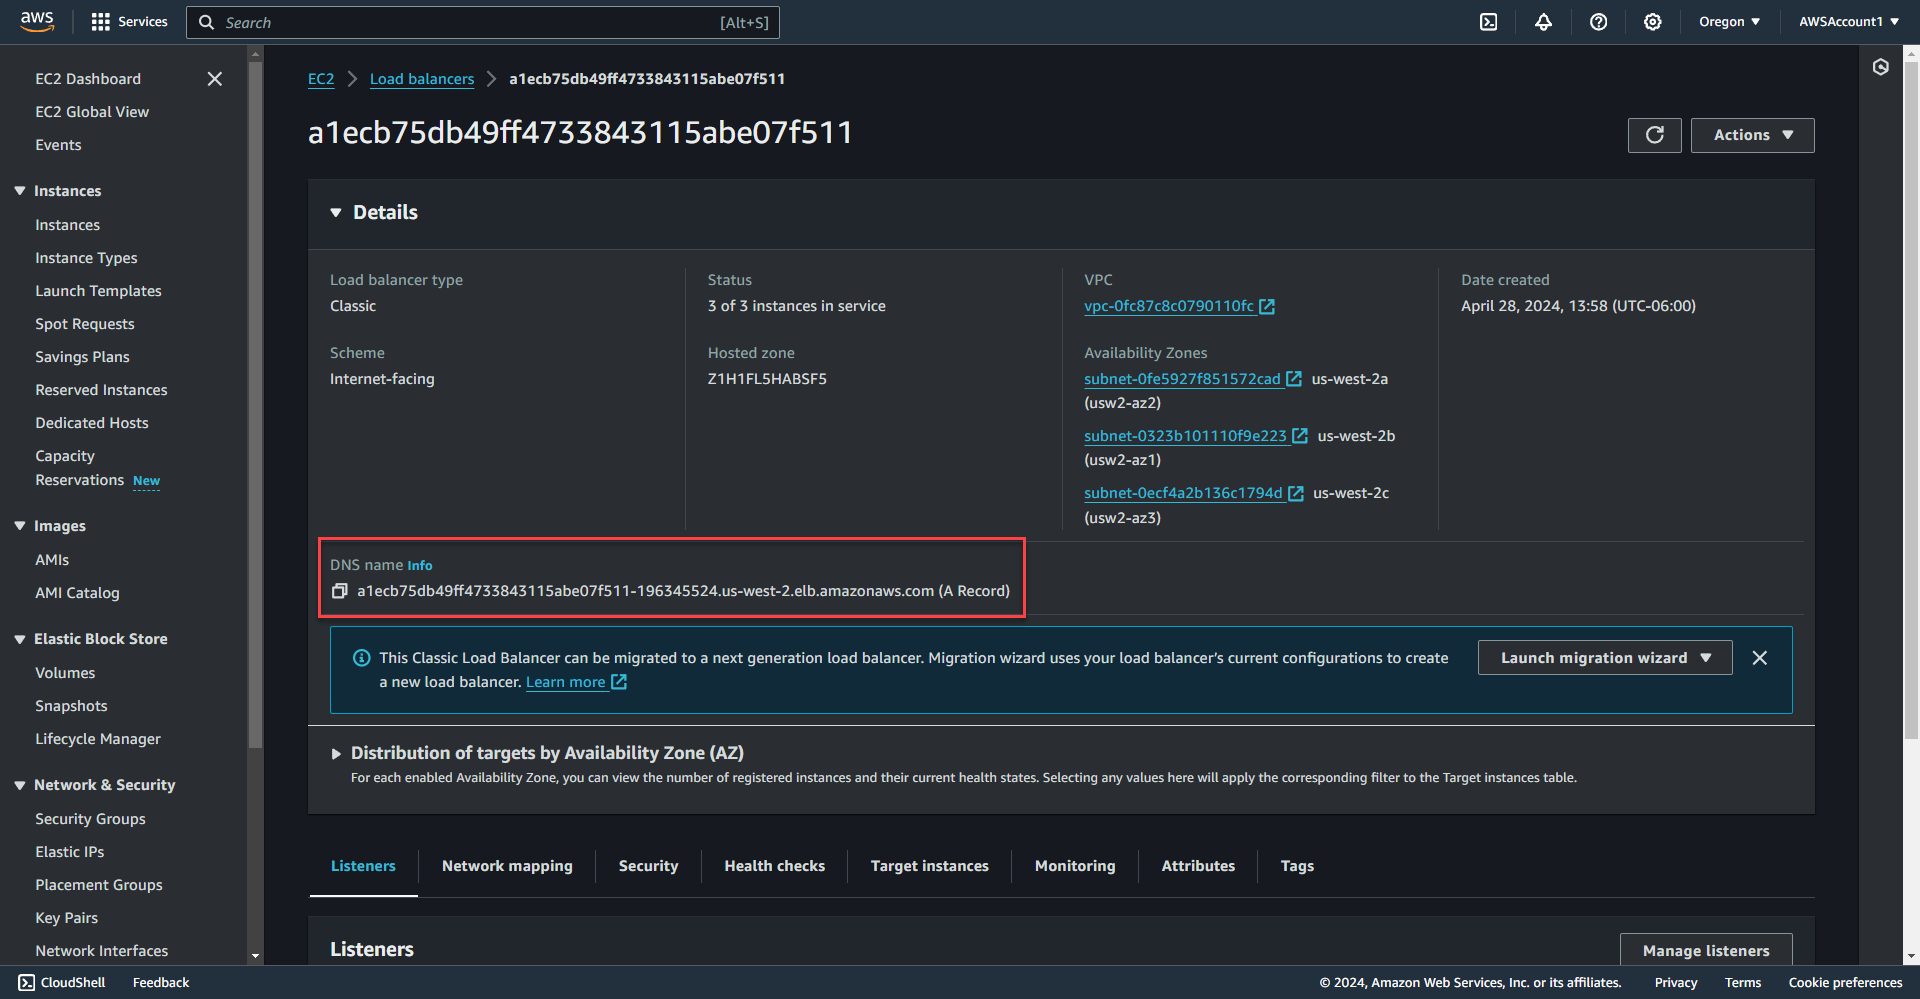
Install EFS Driver
1. Get your AWS Account ID. Select your account from the upper left menu bar item. Select Account.
2. Install driver. Replace the awsAccountID
Command: aws eks create-addon --cluster-name eksCluster --addon-name aws-efs-csi-driver --service-account-role-arn arn:aws:iam::<awsAccountID>:role/eks_efs_driver_role
Apply Kubernetes EFS Configuration
1. Change Directory to /KubernetesFiles on the bastion host. The Kubernetes Config files will be located in that directory.
Command: cd /KubernetesFiles
Kubernetes EFS External Storage Configuration
1. Get EFS Filesystem ID and Access Point ID of Database Storage
2. Get EFS Filesystem ID and Access Point ID of Files Storage. 
3. Edit efsConfig.yaml
Command: sudo nano efsConfig.yaml
4. In the PeristentVolume section called database-efs-pv, add the <filesystemID>::<accesspointID>
5. In the PeristentVolume section called files-efs-pv, add the <filesystemID>::<accesspointID>
6. Apply EFS Config Files. EFS files include the PersistentVolumeClaim, PersistentVolume, and StorageClass.
Command: kubectl apply -f ./efsConfig.yaml
Apply NextCloud Secrets File
1. Open nextcloudSecret.yaml file for editing
Command: sudo nano nextcloudSecret.yaml
2. The Credentials listed in the nextcloudSecret.yaml file need to be base64 encoded in order to be recognized by the secrets file. The next step will show converting a plain text credential to base64.
3. In the linux command line run the below command to convert to base64. Different tools can be used to do the same thing in Windows and online.
Command: echo -n 'my-string' | base64
4. Make sure to keep the postgresDB entry the same. The User and Password values can be changed to your liking. The nextcloudUser and nextcloudPassword values will be the default login credentials entered into the NextCloud Website Login at the end.
3. Apply Secrets File
Command: kubectl apply -f ./nextcloudSecret.yaml
Apply NextCloud Database
1. Apply Postgres Database
Command: kubectl apply -f ./dbdeployment.yaml

Deploy NextCloud Application Deployment
1. First, edit Nextcloud Deployment file with the domain name that will be used to access NextCloud. In this example, the dns name of the load balancer will be used in testing the deployment. When following along, the load balancer dns name can be found on step 5 of the Create the Ingress Controller section in this document.
Command: sudo nano ./nextclouddeployment.yaml
2. Change the NEXTCLOUD_TRUSTED_DOMAINS to the domain name used for the NextCloud Website.
3. Apply NextCloud Deployment
Command: kubectl apply -f ./nextclouddeployment.yaml
4. Apply Ingress Config
Command: kubectl apply -f ./ingress.yaml
Troubleshooting Commands
1. kubectl describe pod <podName>: get details about a container that is failing to start
2. kubectl logs <podName>: get container application logs
3. kubectl get node: get status of nodes. Status of the nodes will show "ready" when working correctly
Logging into NextCloud
1. Enter Nextcloud URL or AWS Load Balancer DNS Name into web browser
2. Sign into NextCloud
3. Select the x on the opening pop up.
4. Select the Files icon on the top left menu to view documents storage.


