How I pushed the code and built the pipeline in GitLab
Uploading project files to GitLab
1. Initialize git folder to start using Git in that folder location.
Command: git init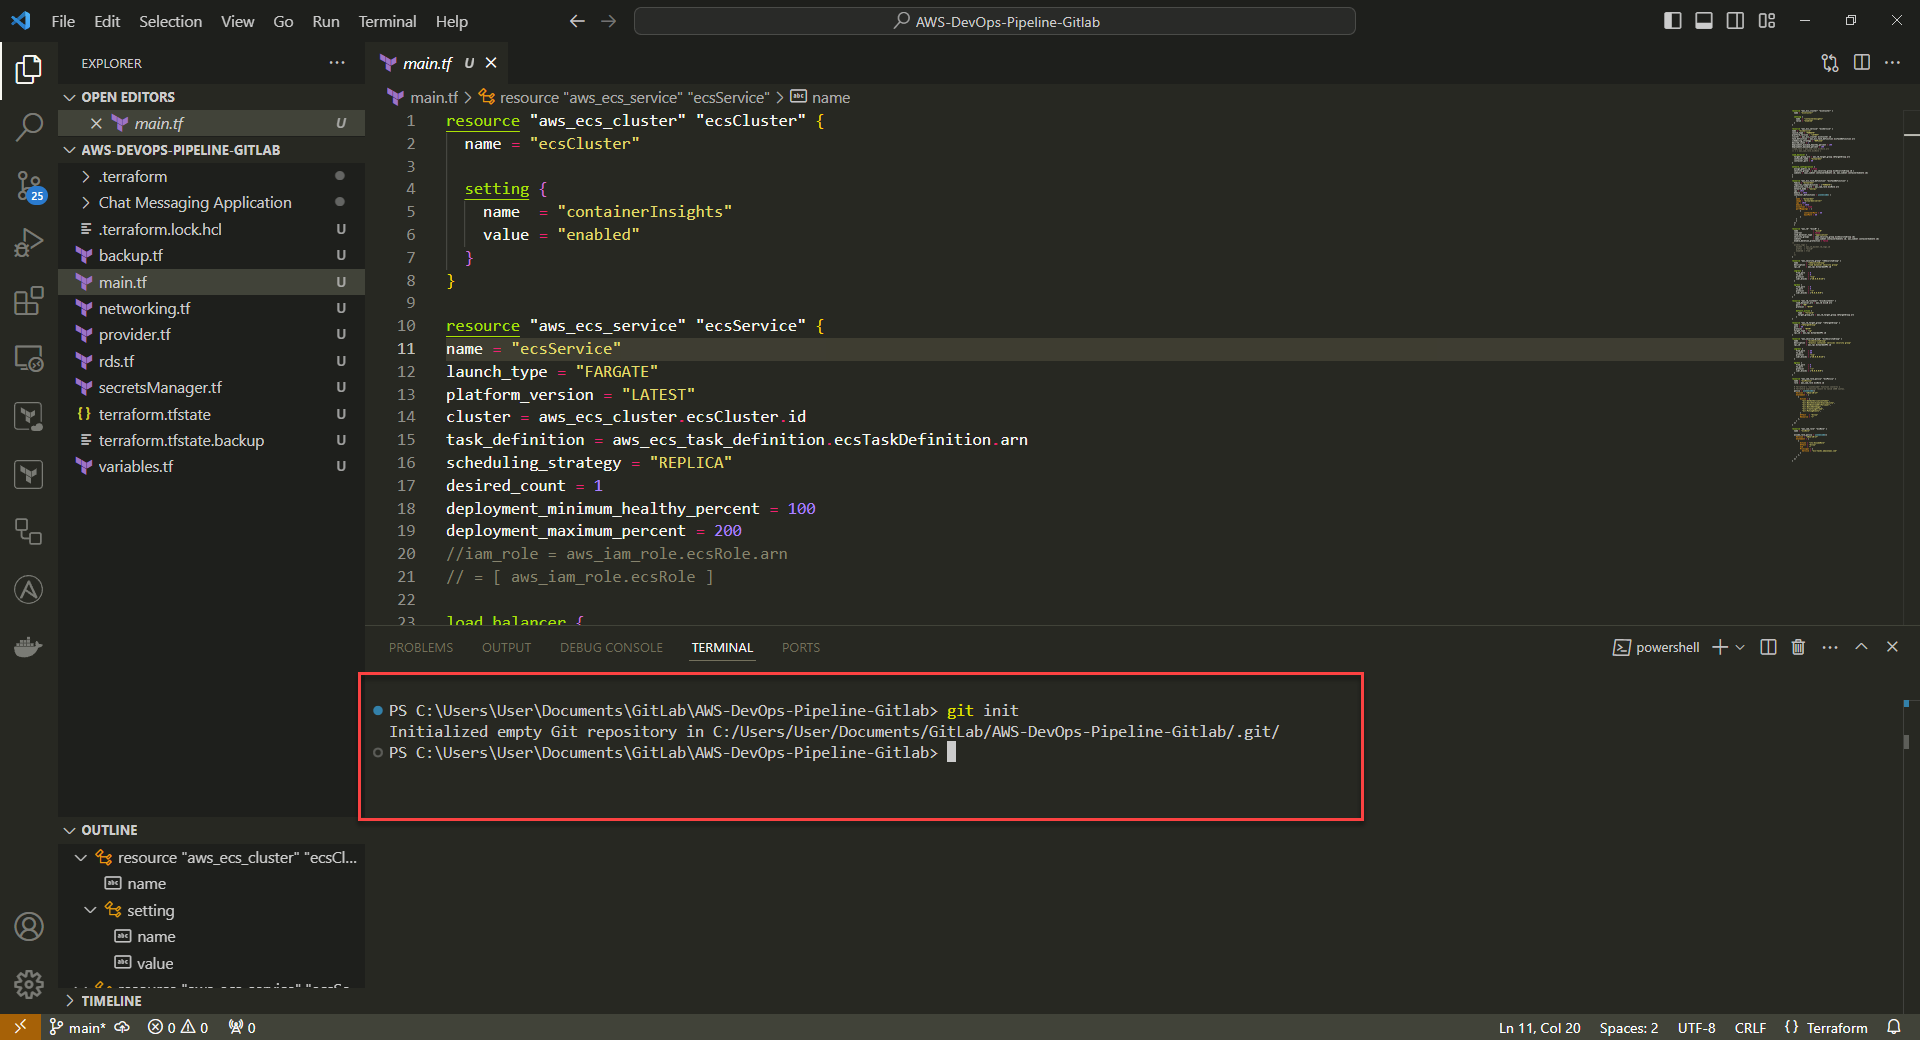
2. The default README page on the GitLab project page shows steps to push files to the project.
3. Connect to the GitLab project by adding git remote orgin
Command: git remote add origin https://gitlab.com/<your_GitLab_username>/<your_project_name>.git
example Command: git remote add origin https://gitlab.com/zacaryfettig/messagingapplication.git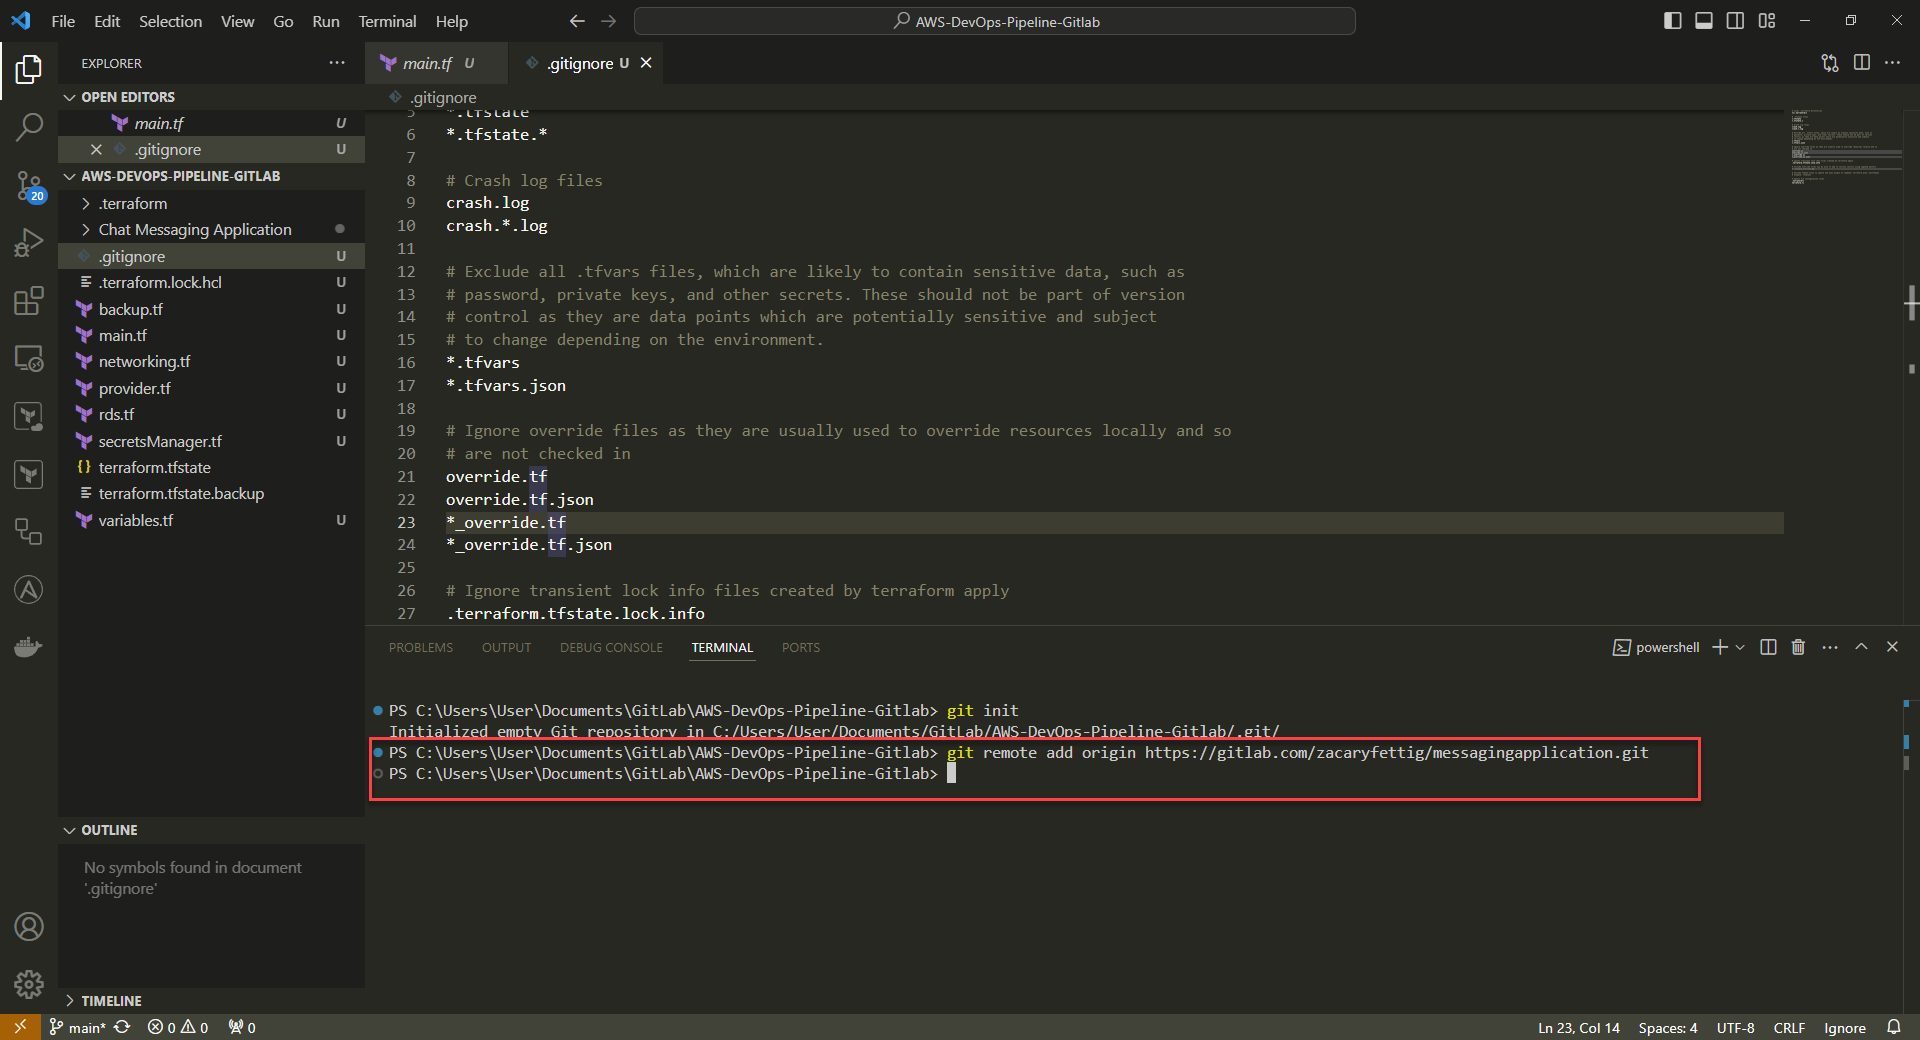
4. Verify that orgin has been set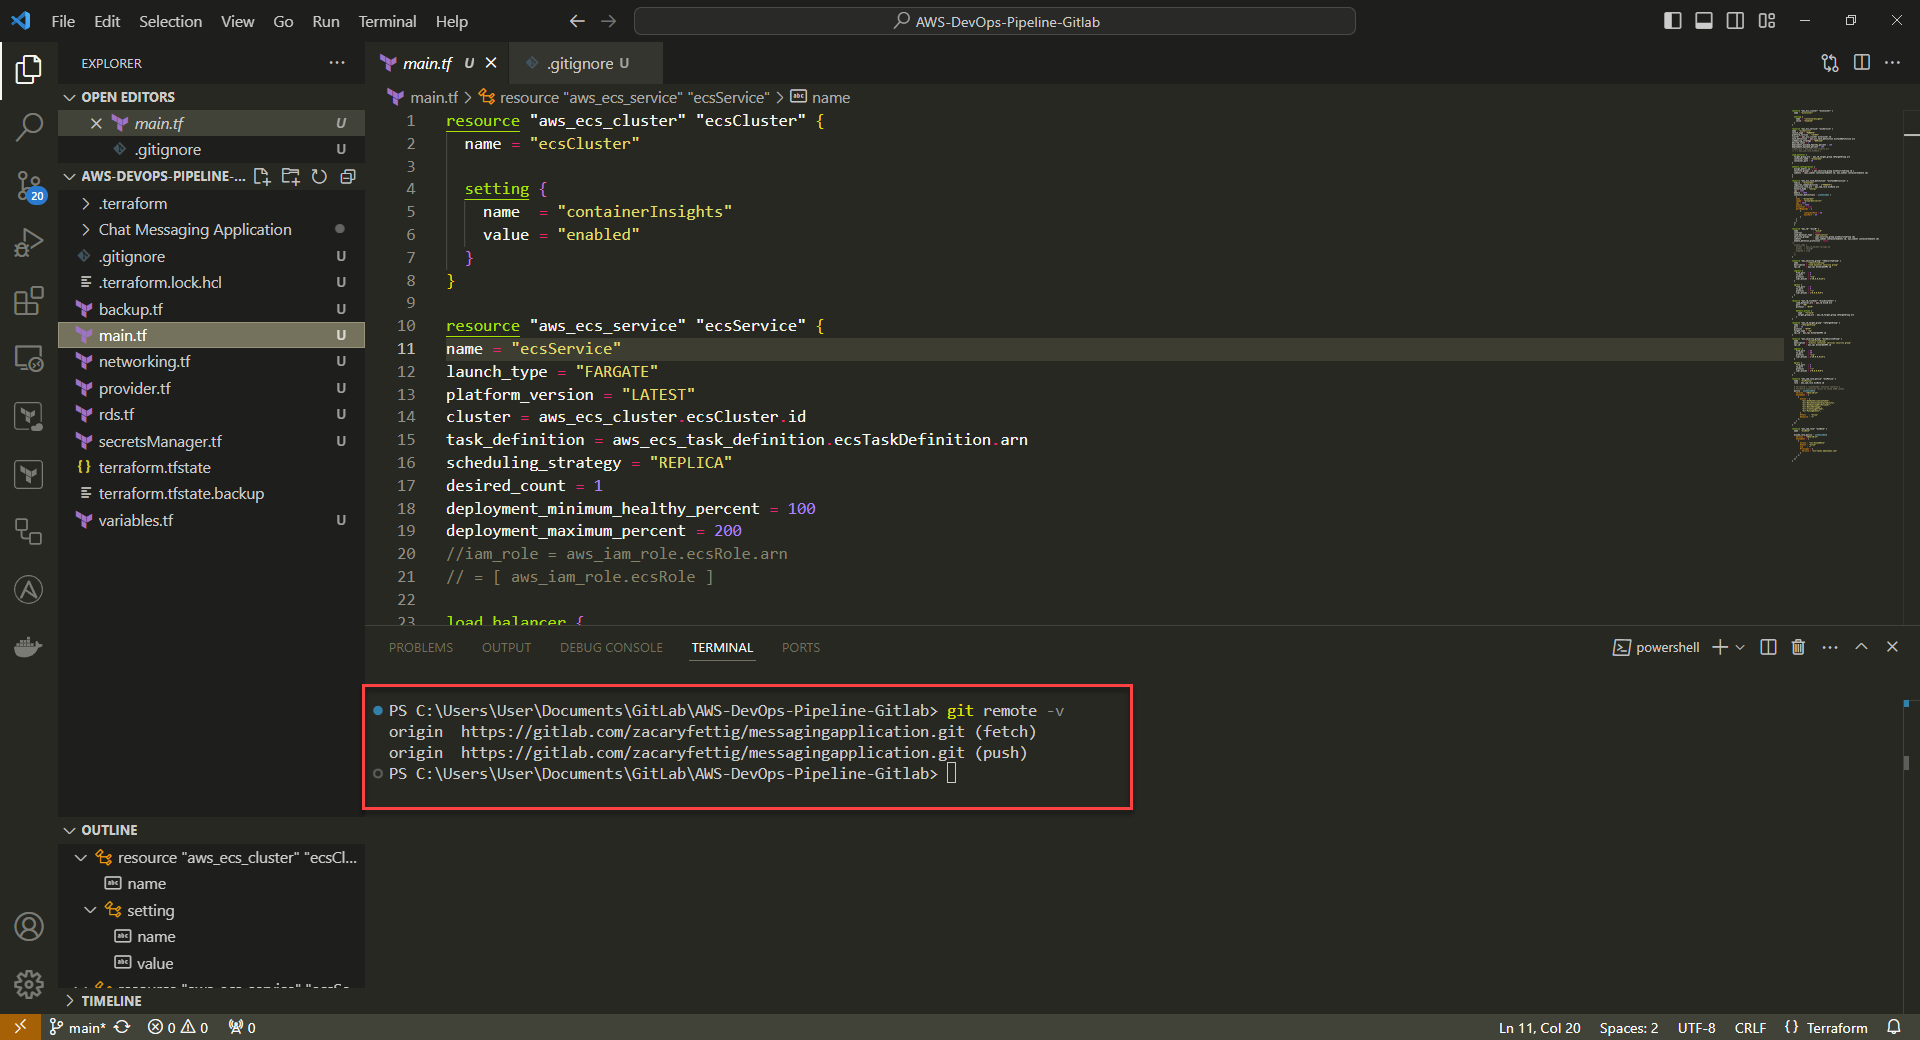
Command: git remote -v
5. Set branch of choice to push to
Command: git branch -M <branchName>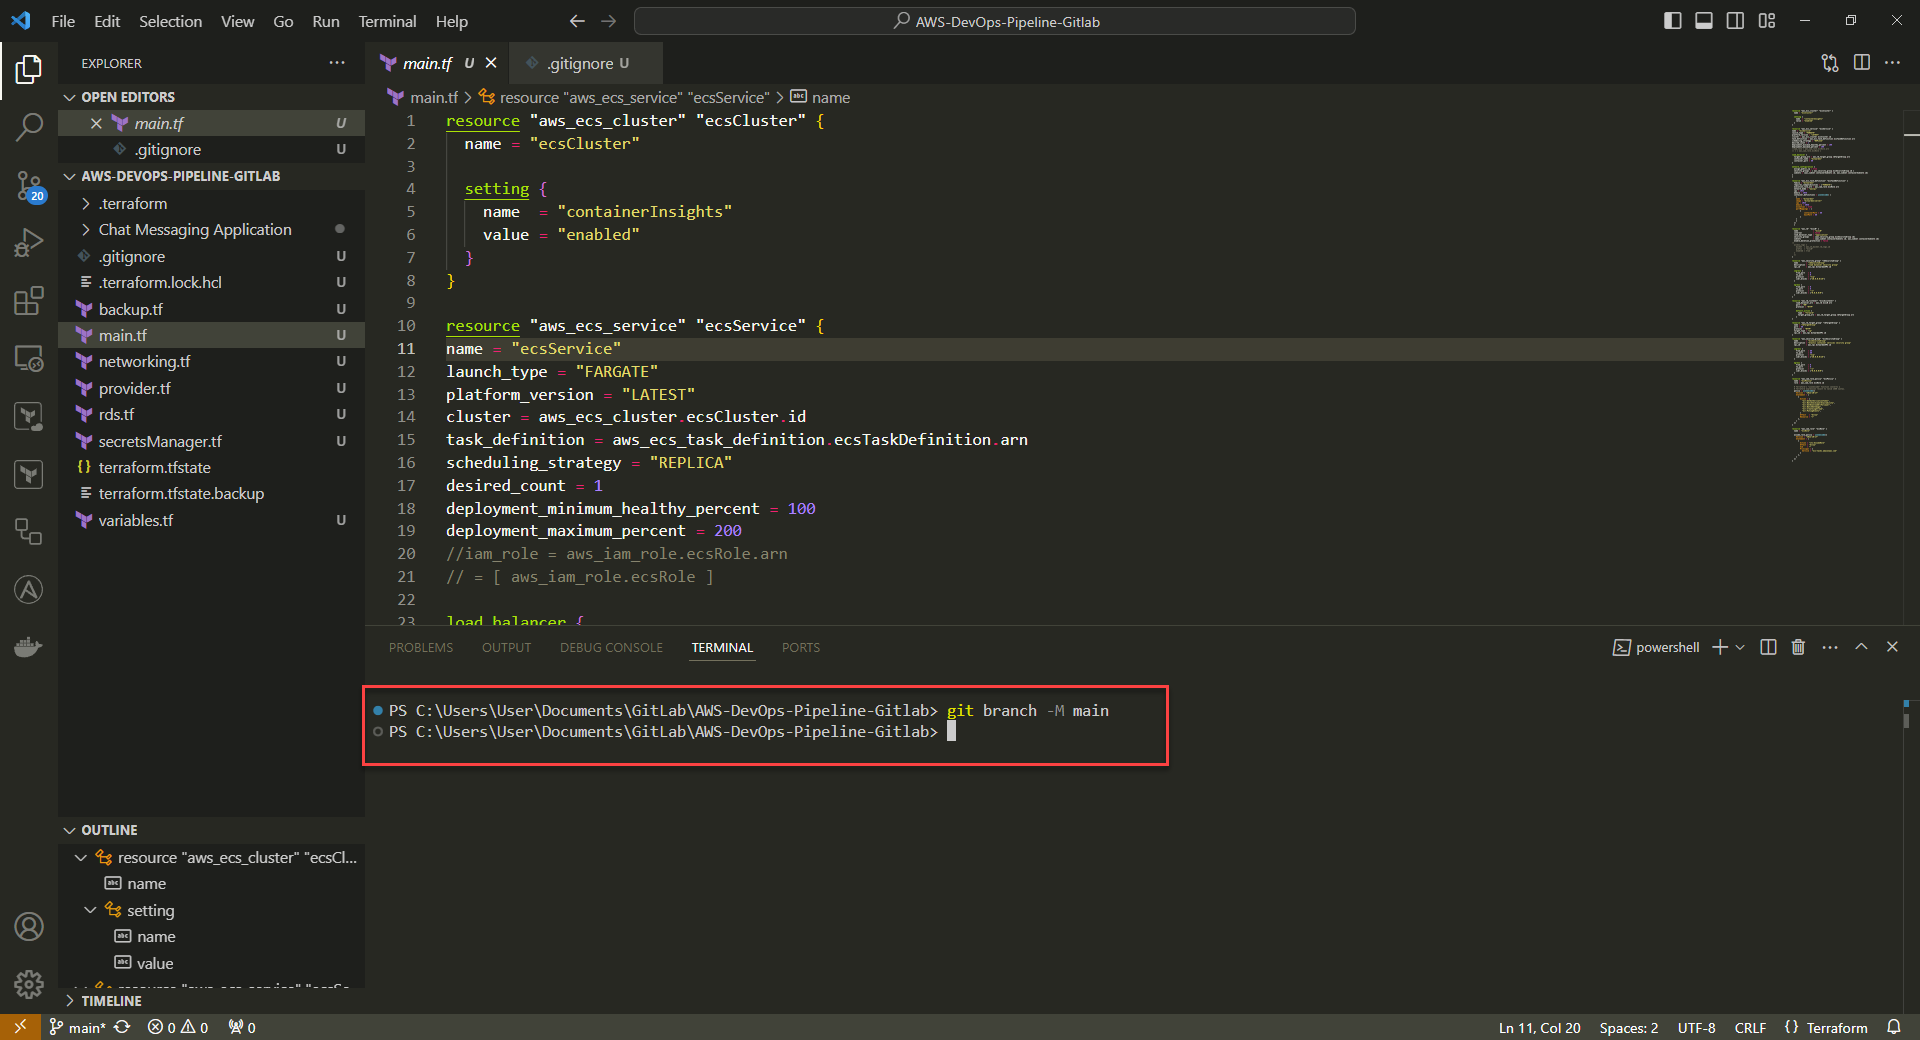
6. Add project files to Git so that Git can work with them. 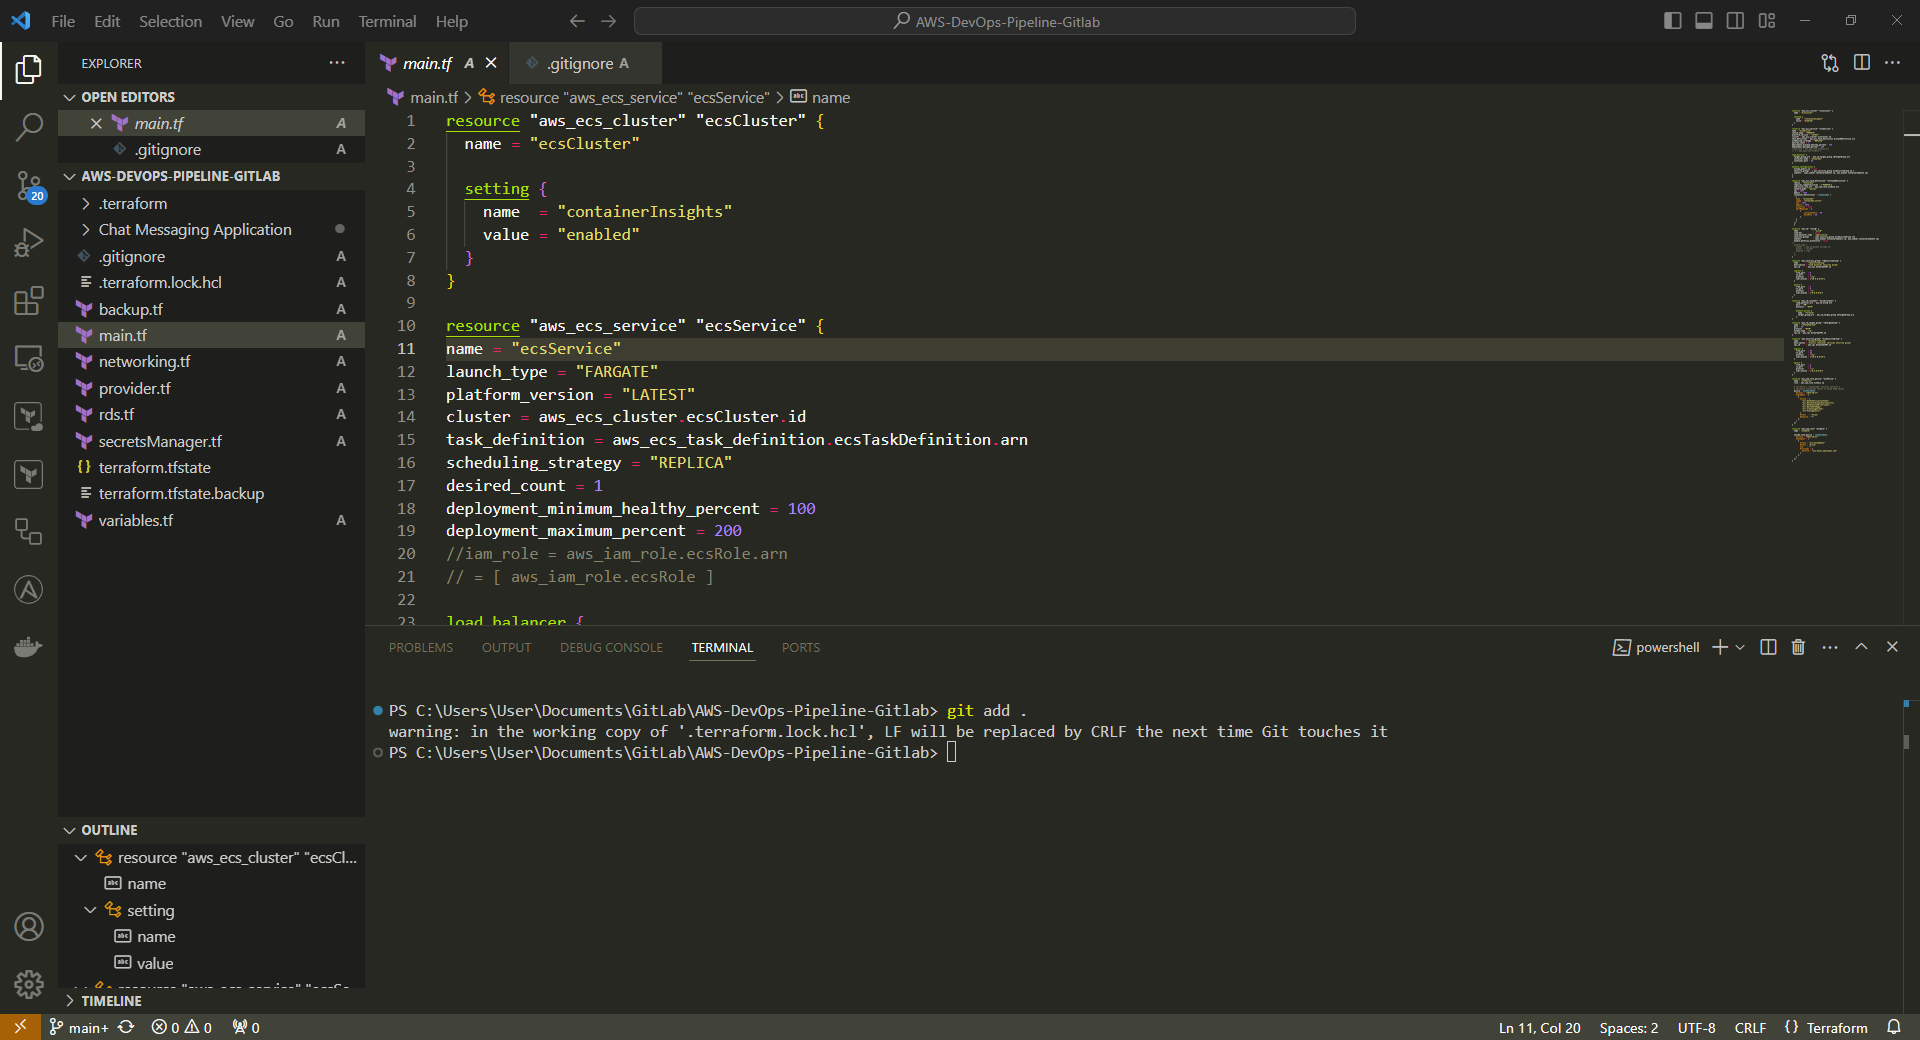
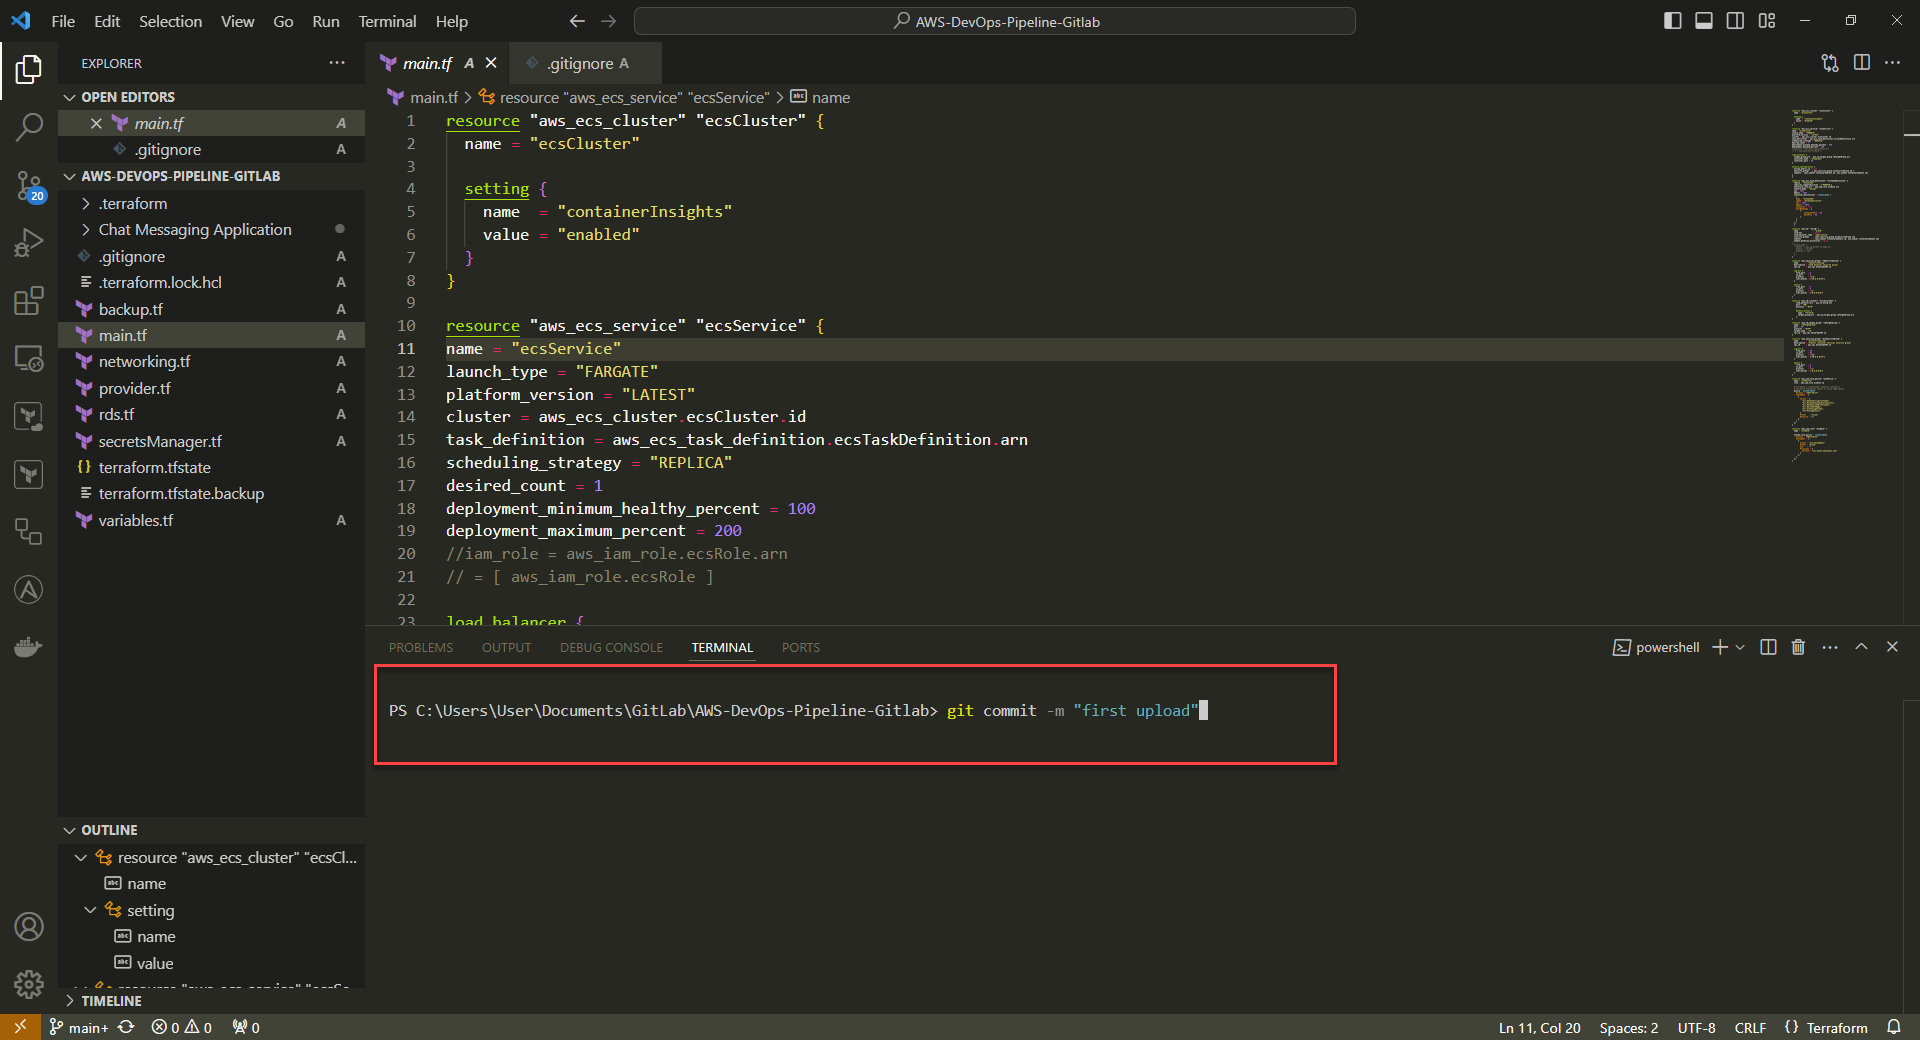
7. commit files before pushing
Command: git commit -m "<commitMessage>"
Note: May need to run command git pull orgin <yourBranchName> --allow-unrelated-histories to pull down the initial README page before pushing
8. Push to GitLab Repository. Once git push command is run, it will prompt for authentication method. Select 1 for web browser authentication and complete authentication in web browser.
Command: git push -u origin <yourGitBranch> 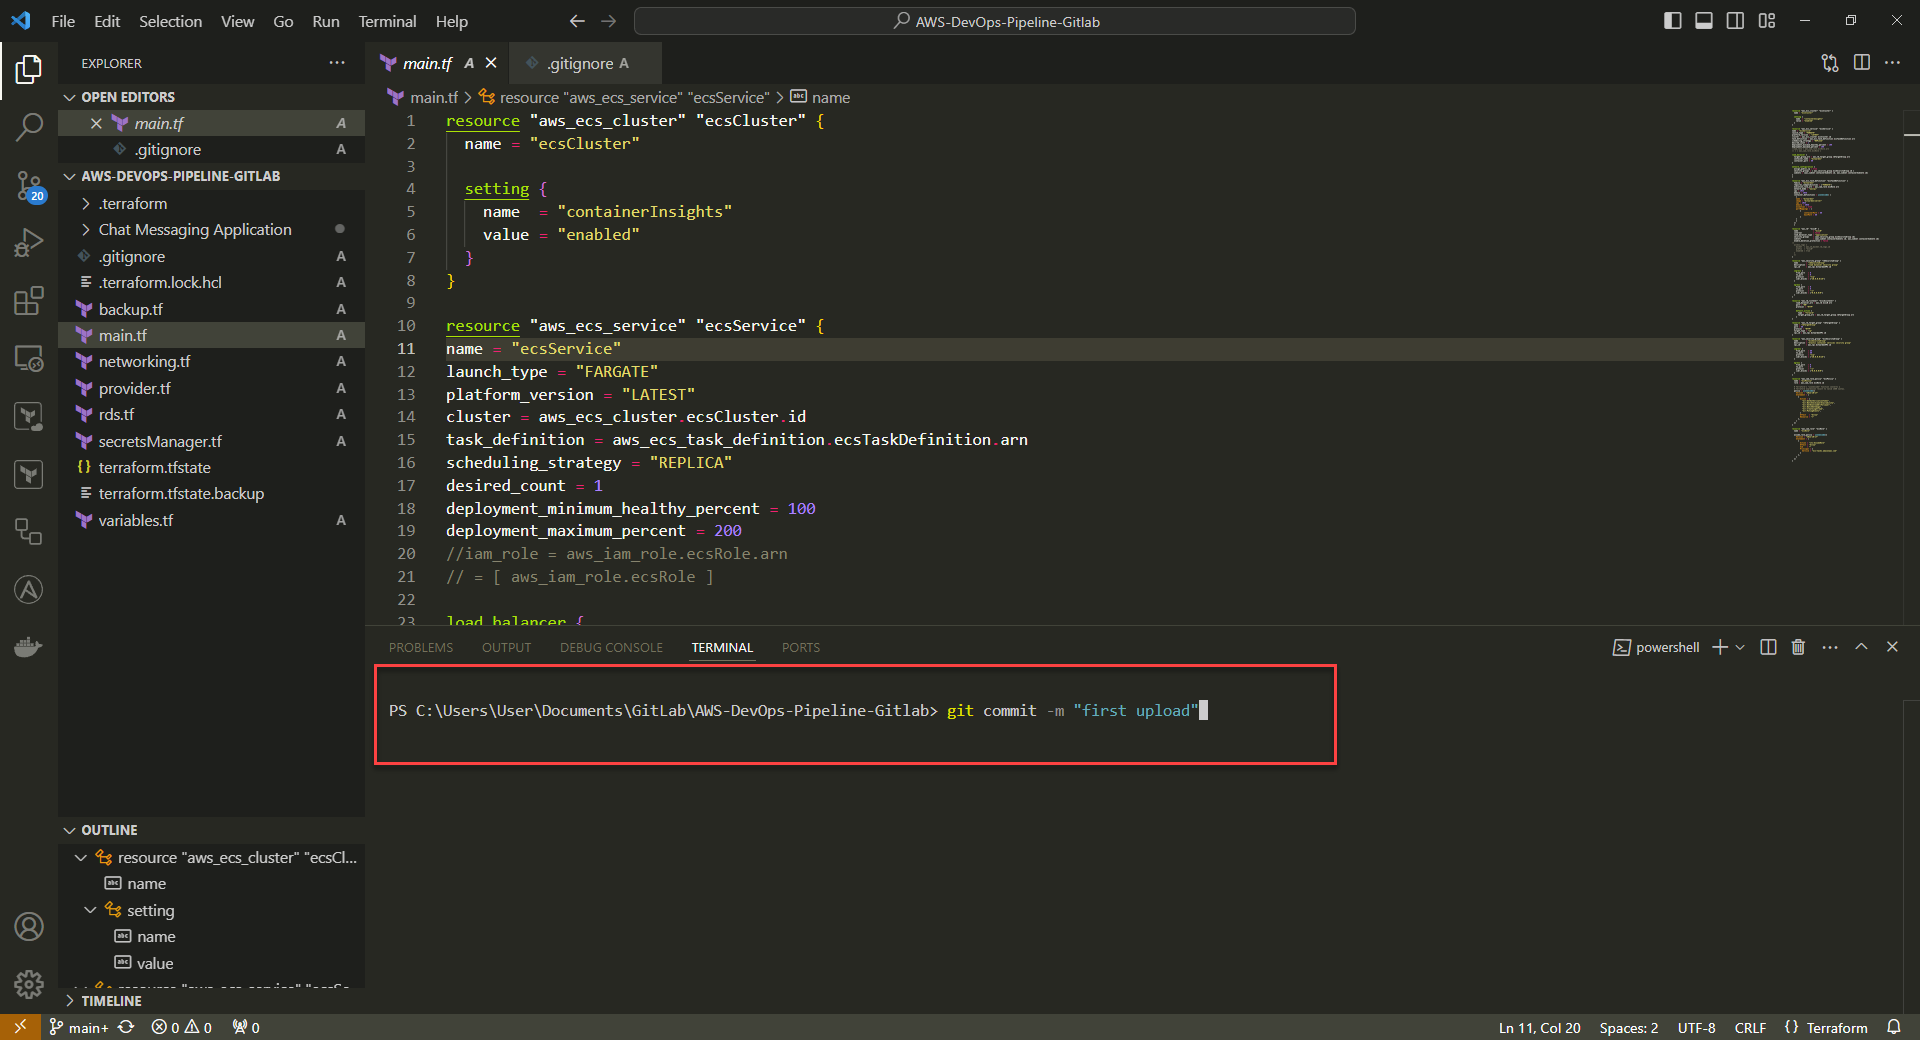
9. Files show up in the list on the GitLab page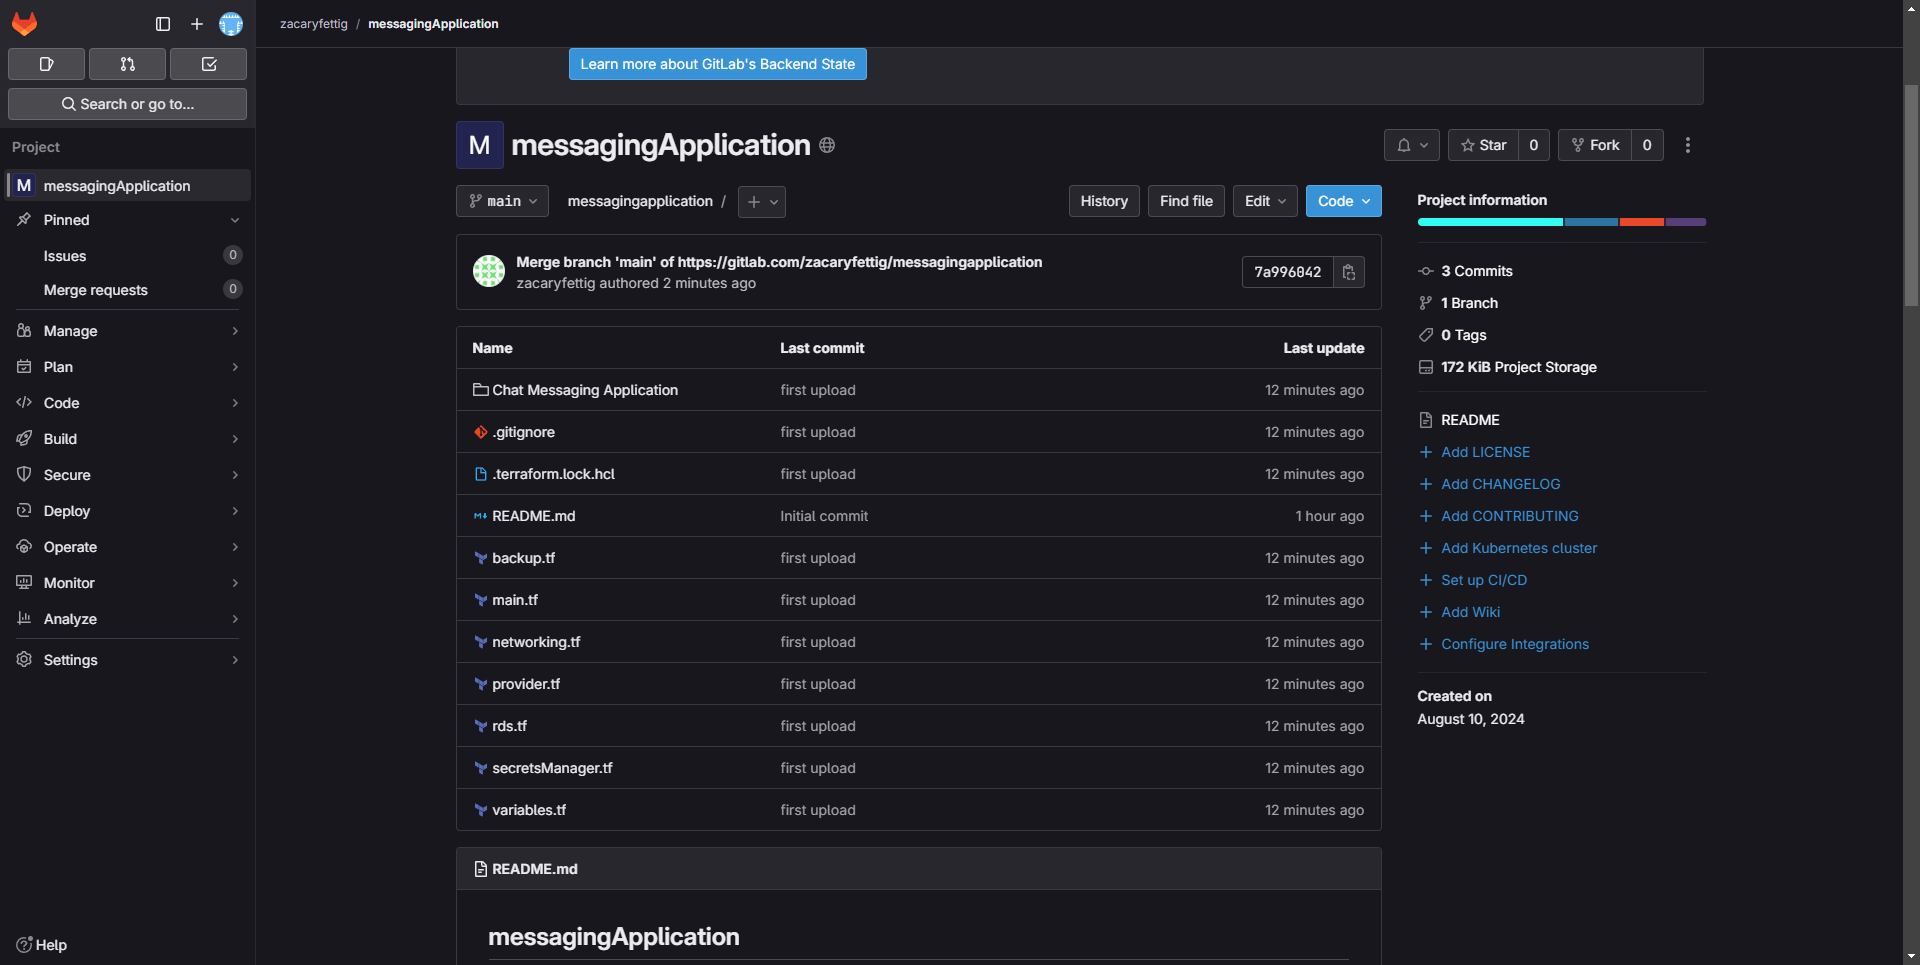
Allowing the pipeline access to AWS via access key
1. Create a user that will be used for GitLab to access AWS.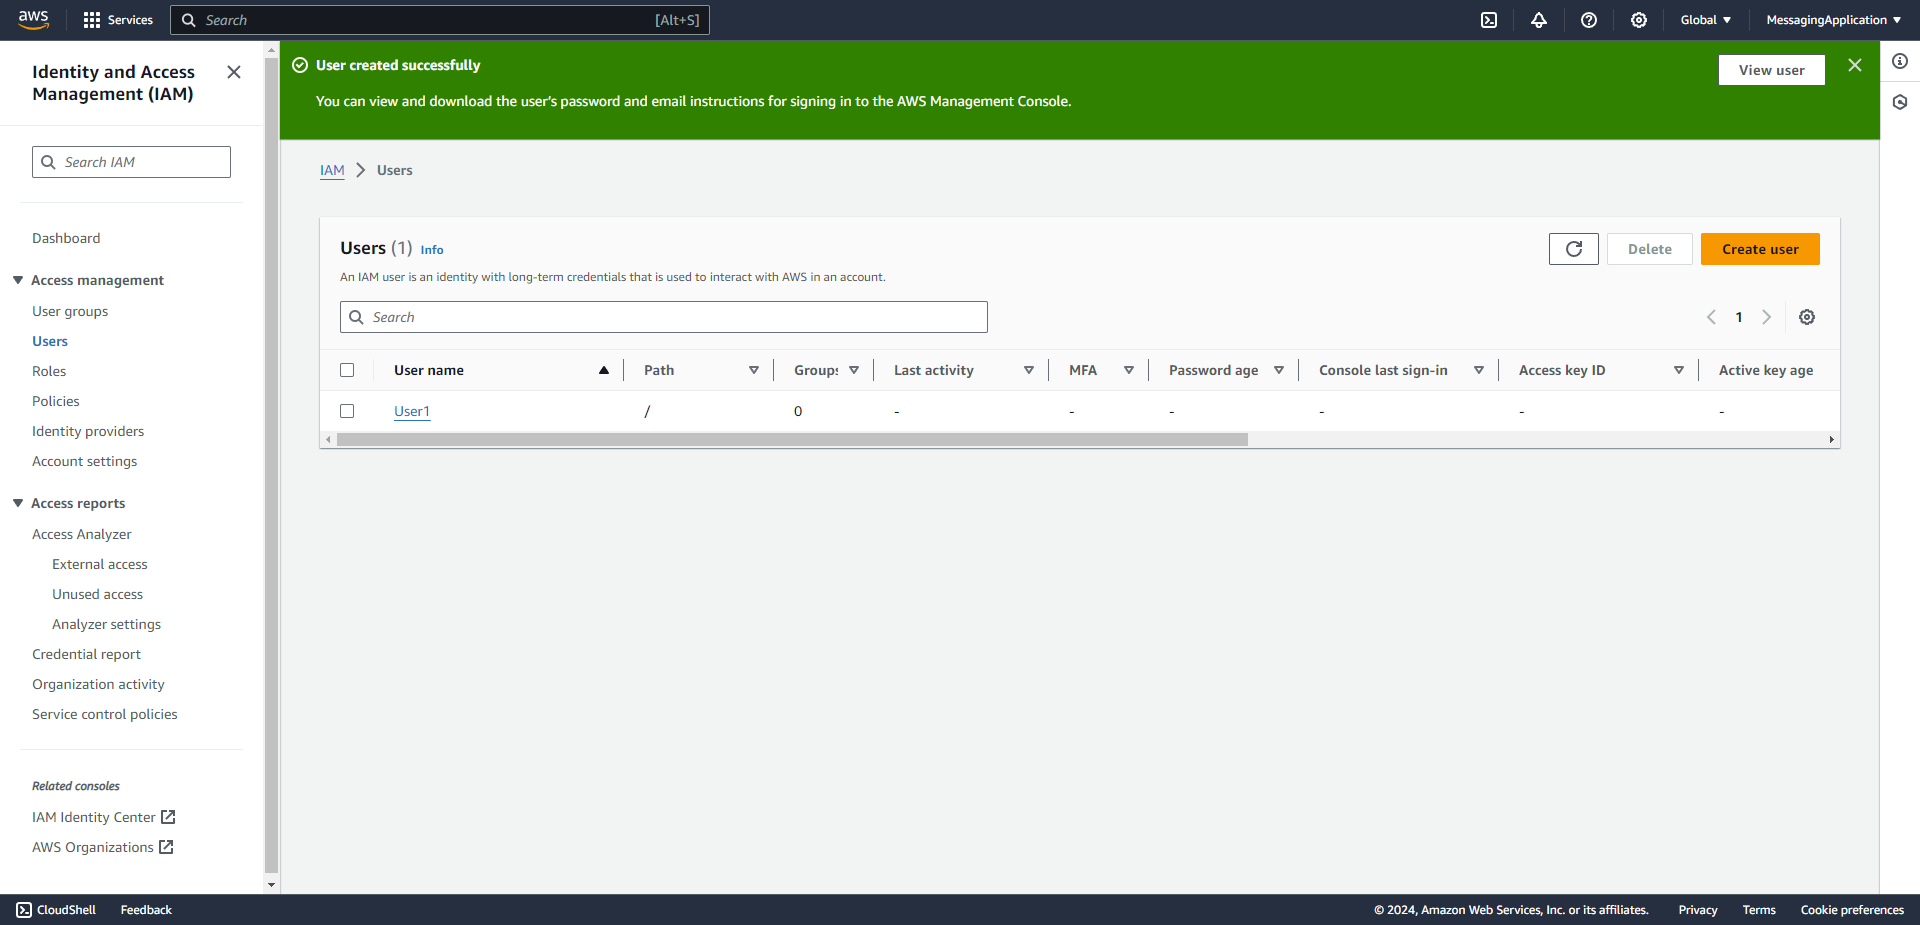
2. Select the the new user. Select the Security Credentials Tab. Select Access keys under that tab to create an access key.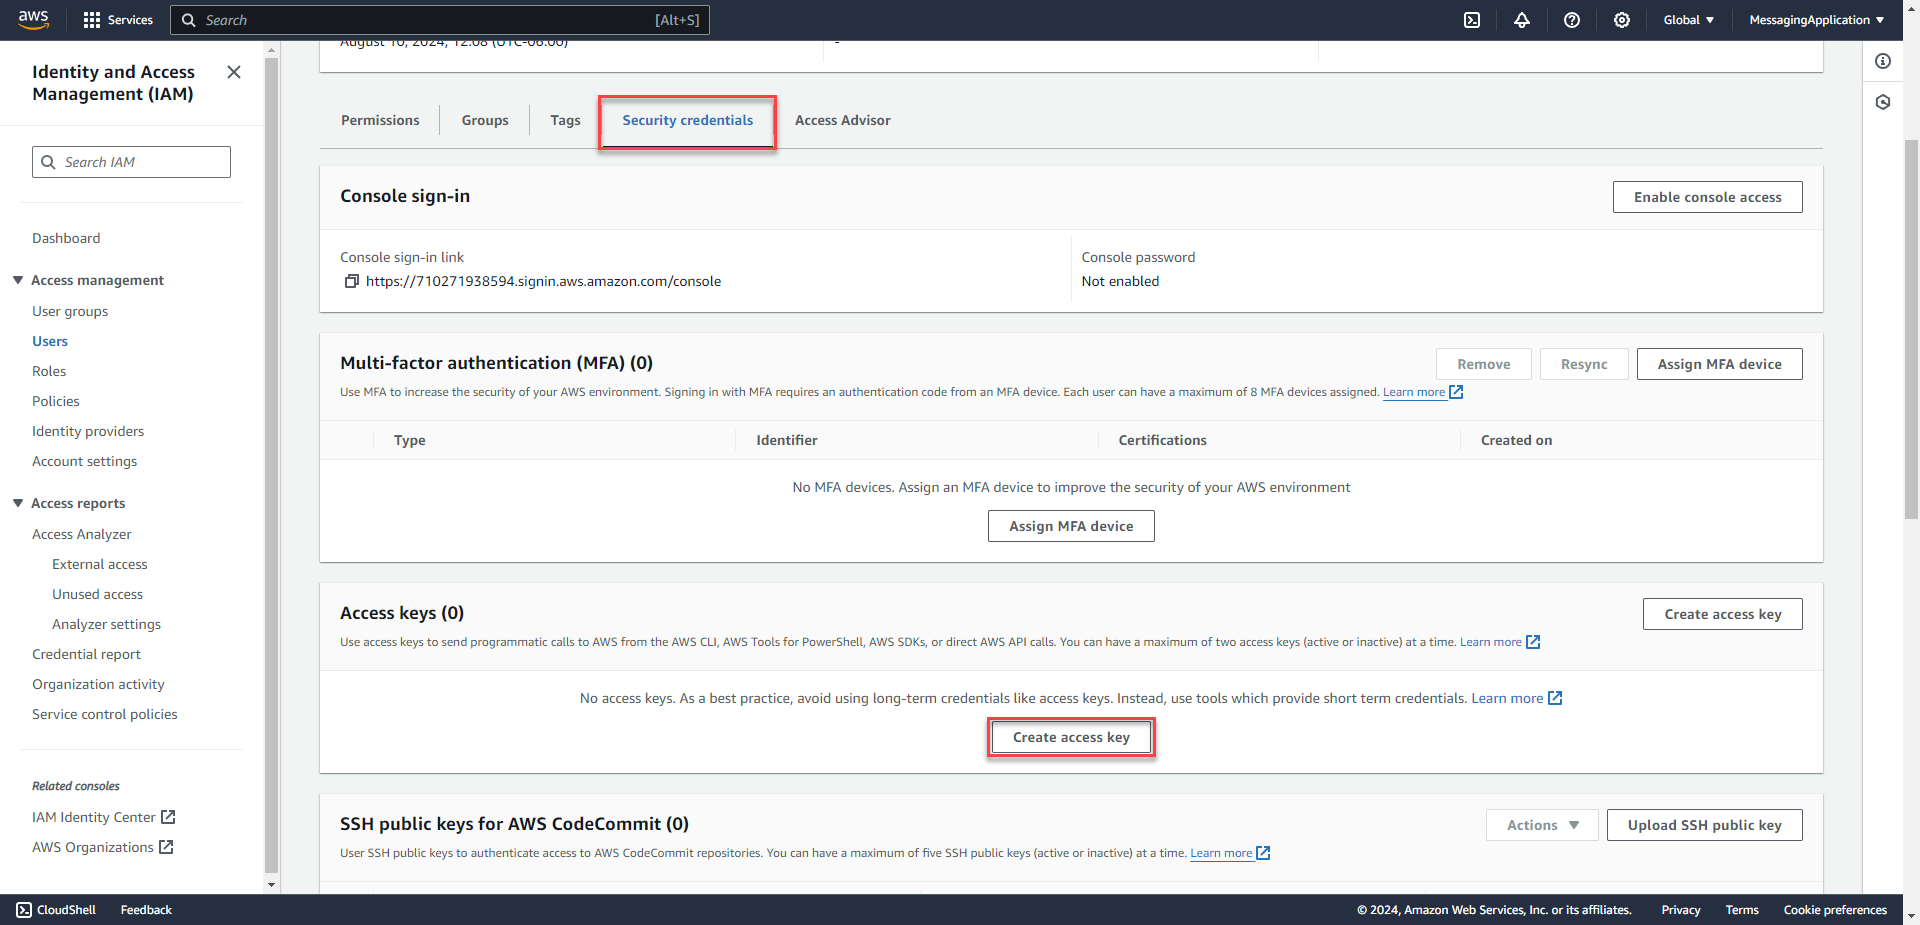
2. Select Command Line Interface. Check the acknowledgment check box at the bottom. Select Next. 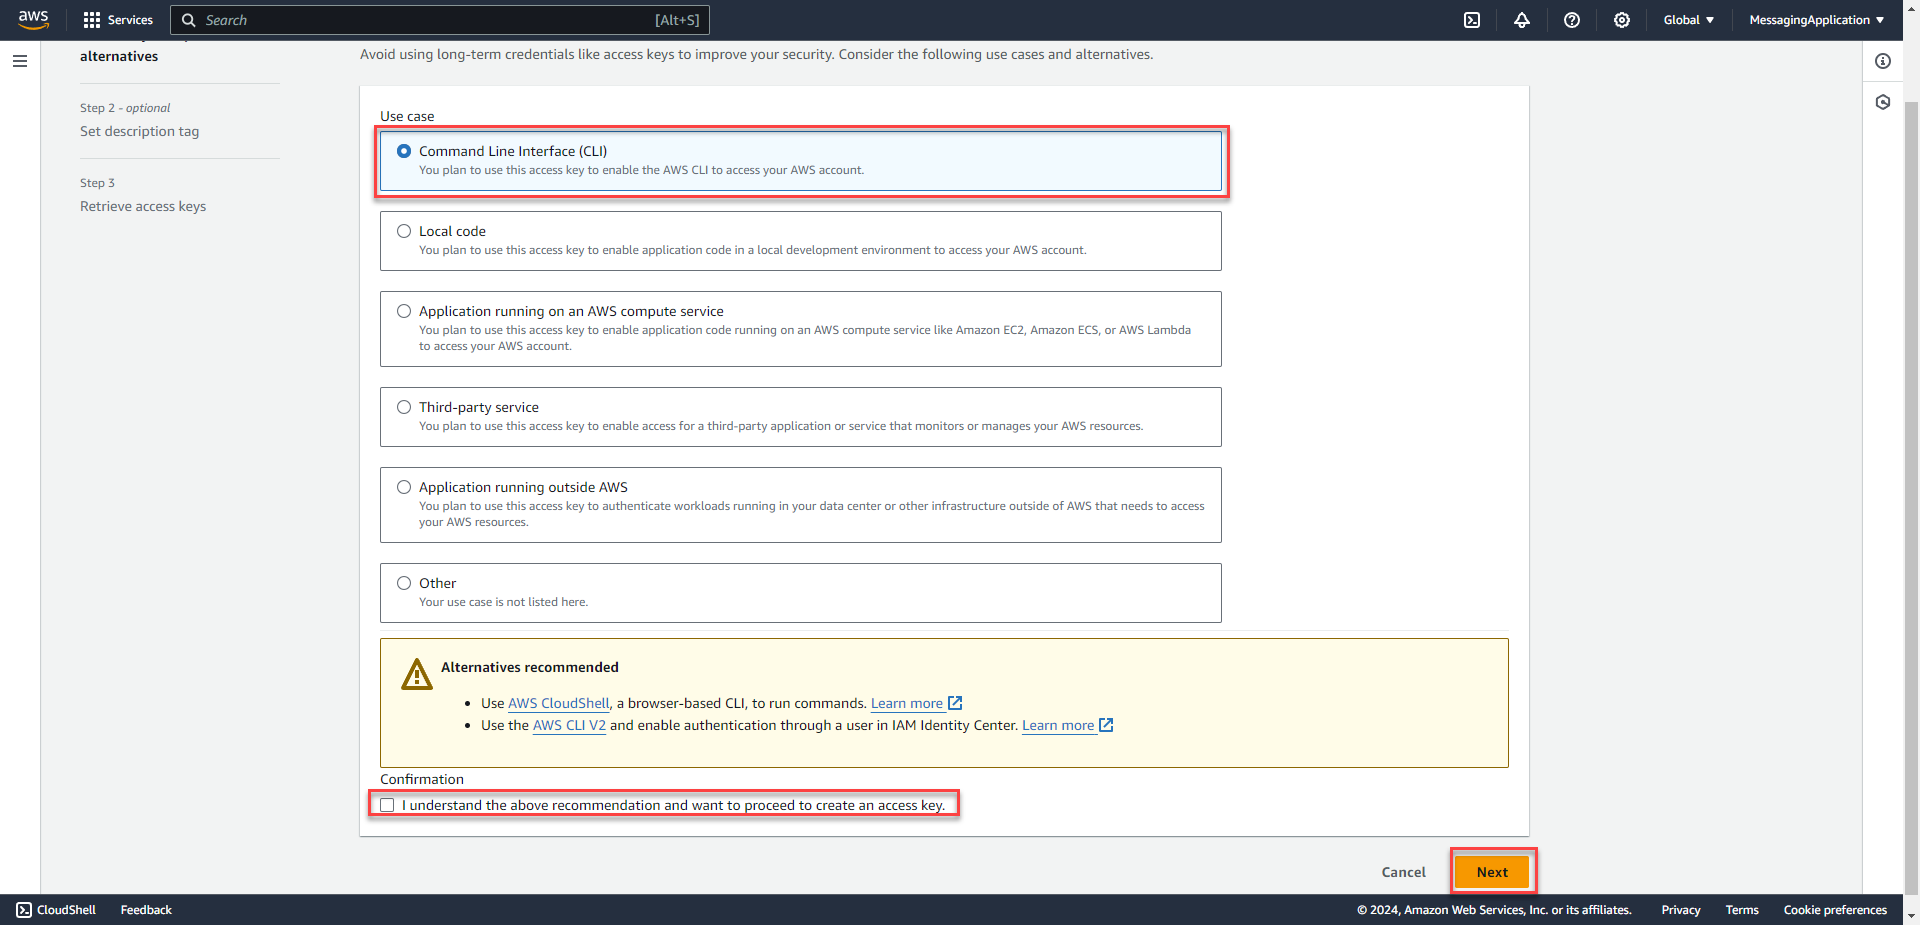
3. Select Create Access Key 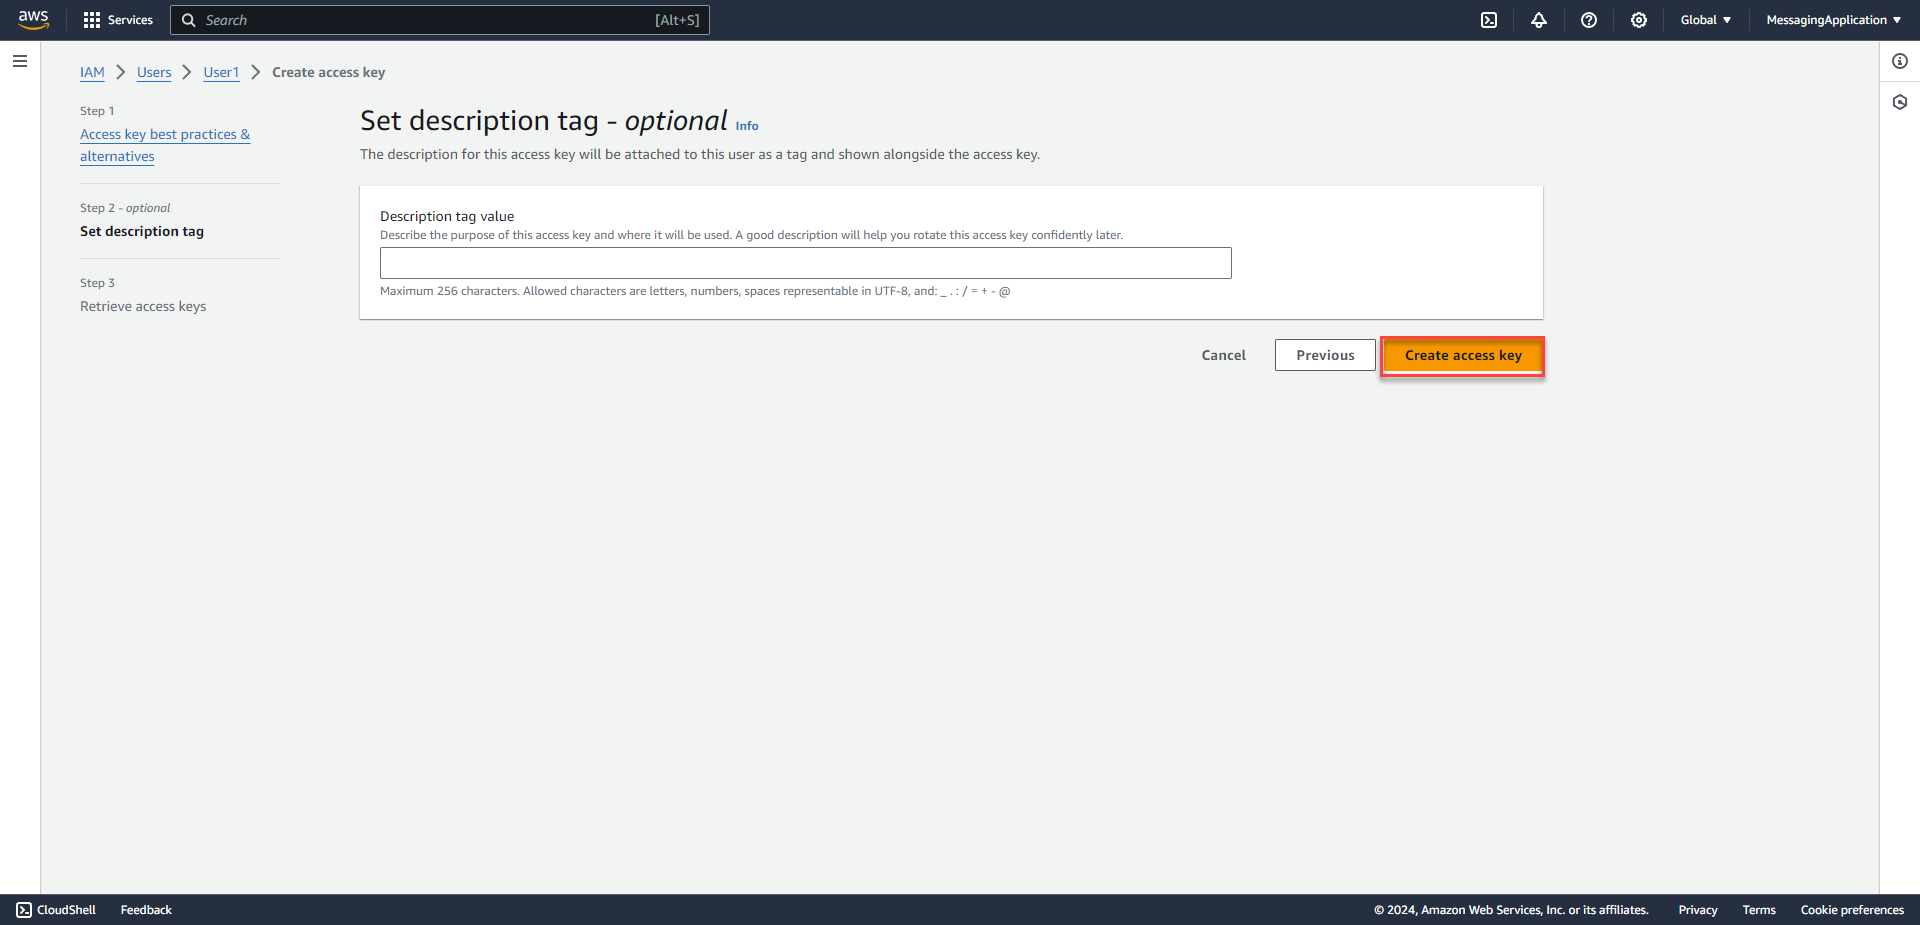
4. Copy Secret Access Key for use later. The Secret Access Key will only be shown once and can't be viewed later on. 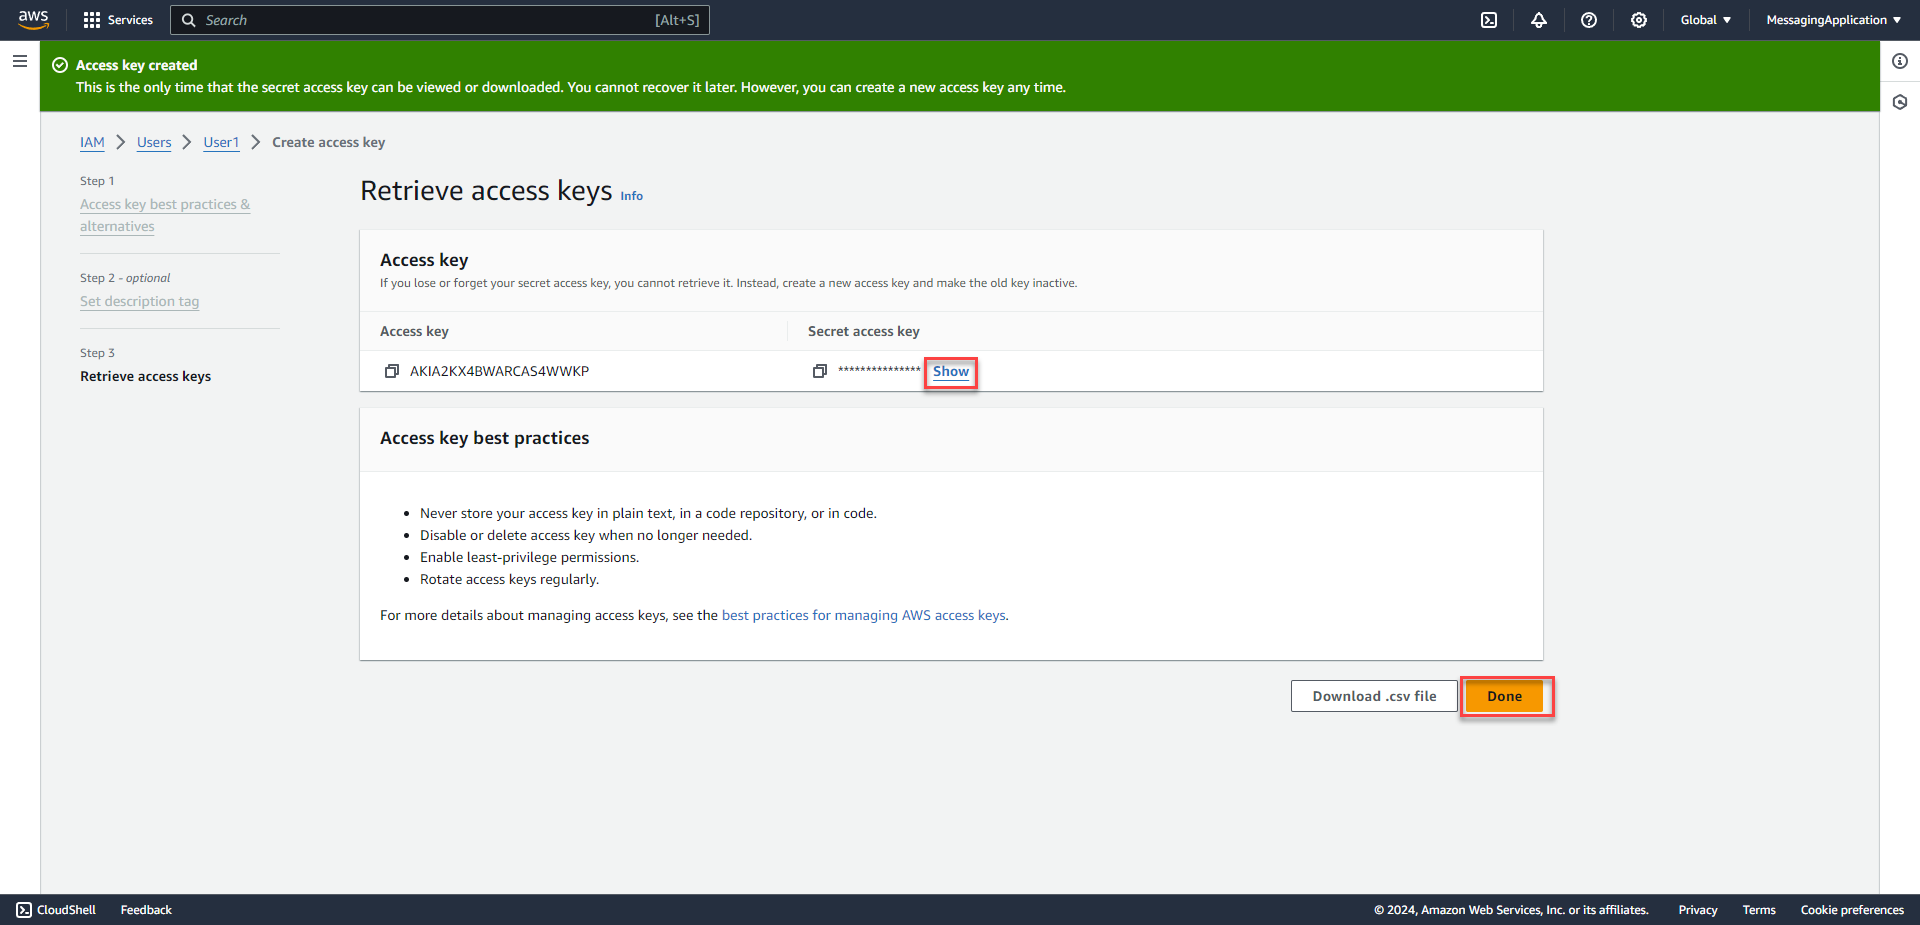
5. In Gitlab go to Settings menu and select CI/CD in the sub menu to create variables that will securely hold the access key credential for use in the pipeline.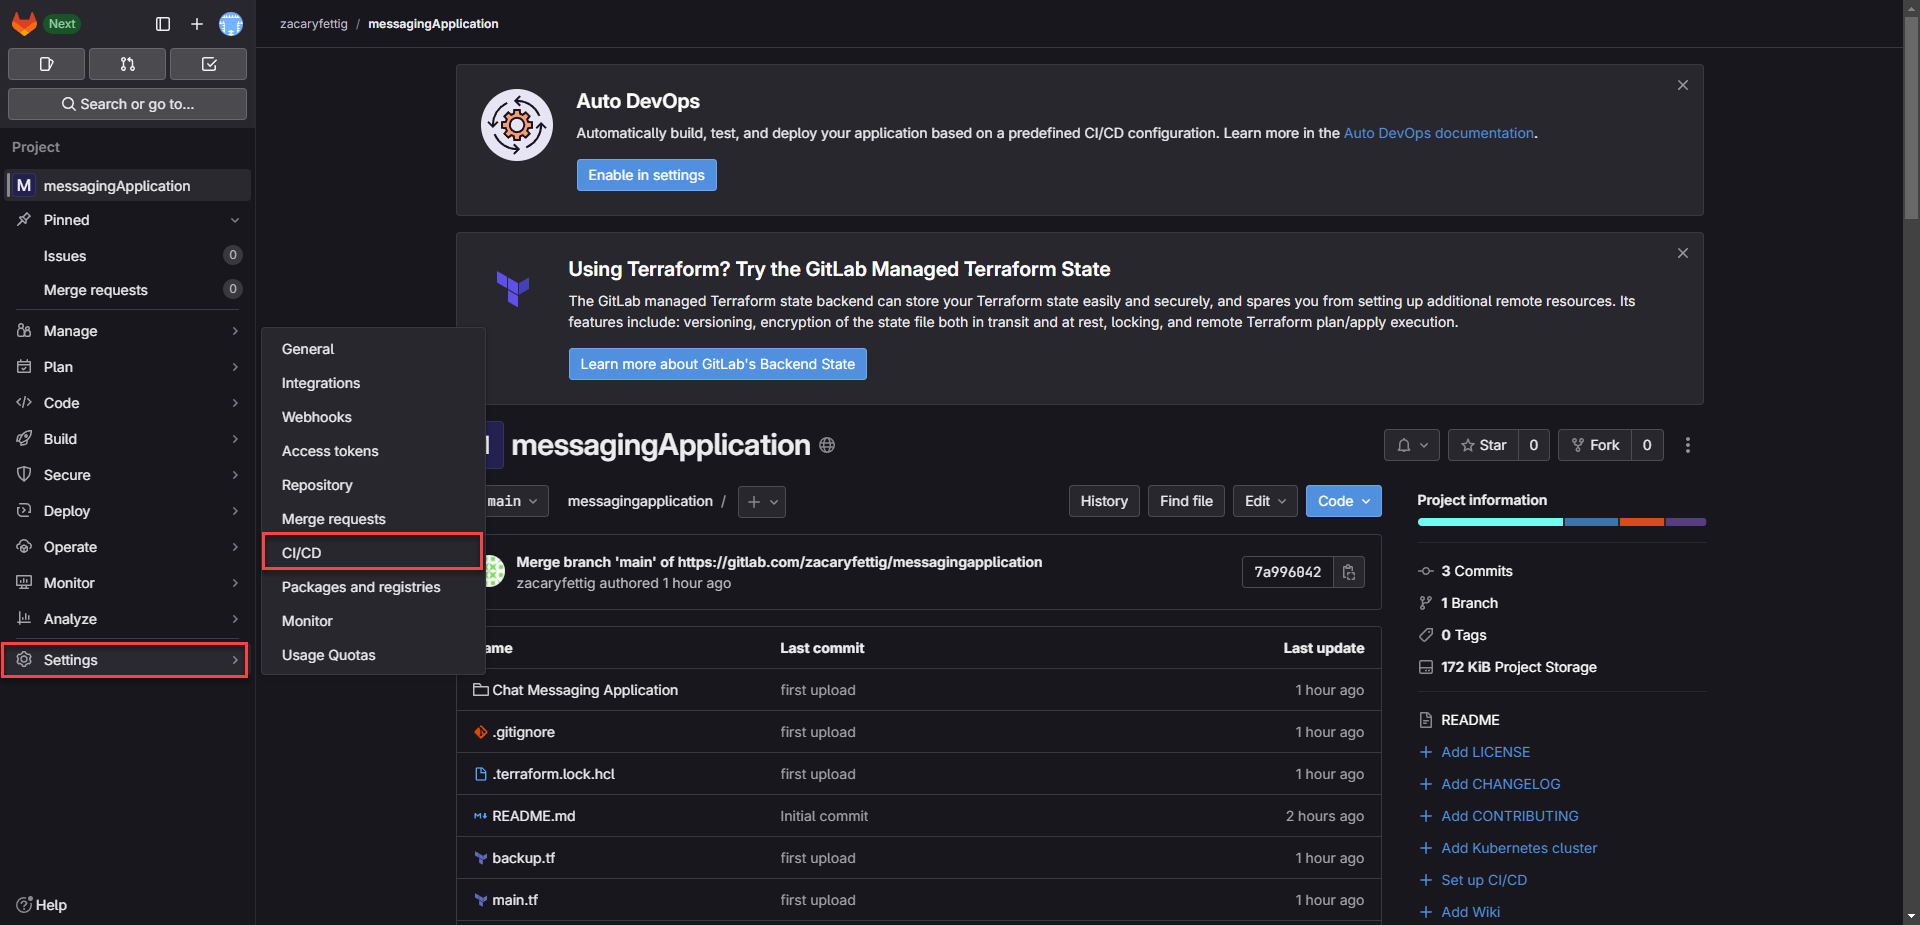
6. On the Ci/CD page, expand the variables section and select add variable.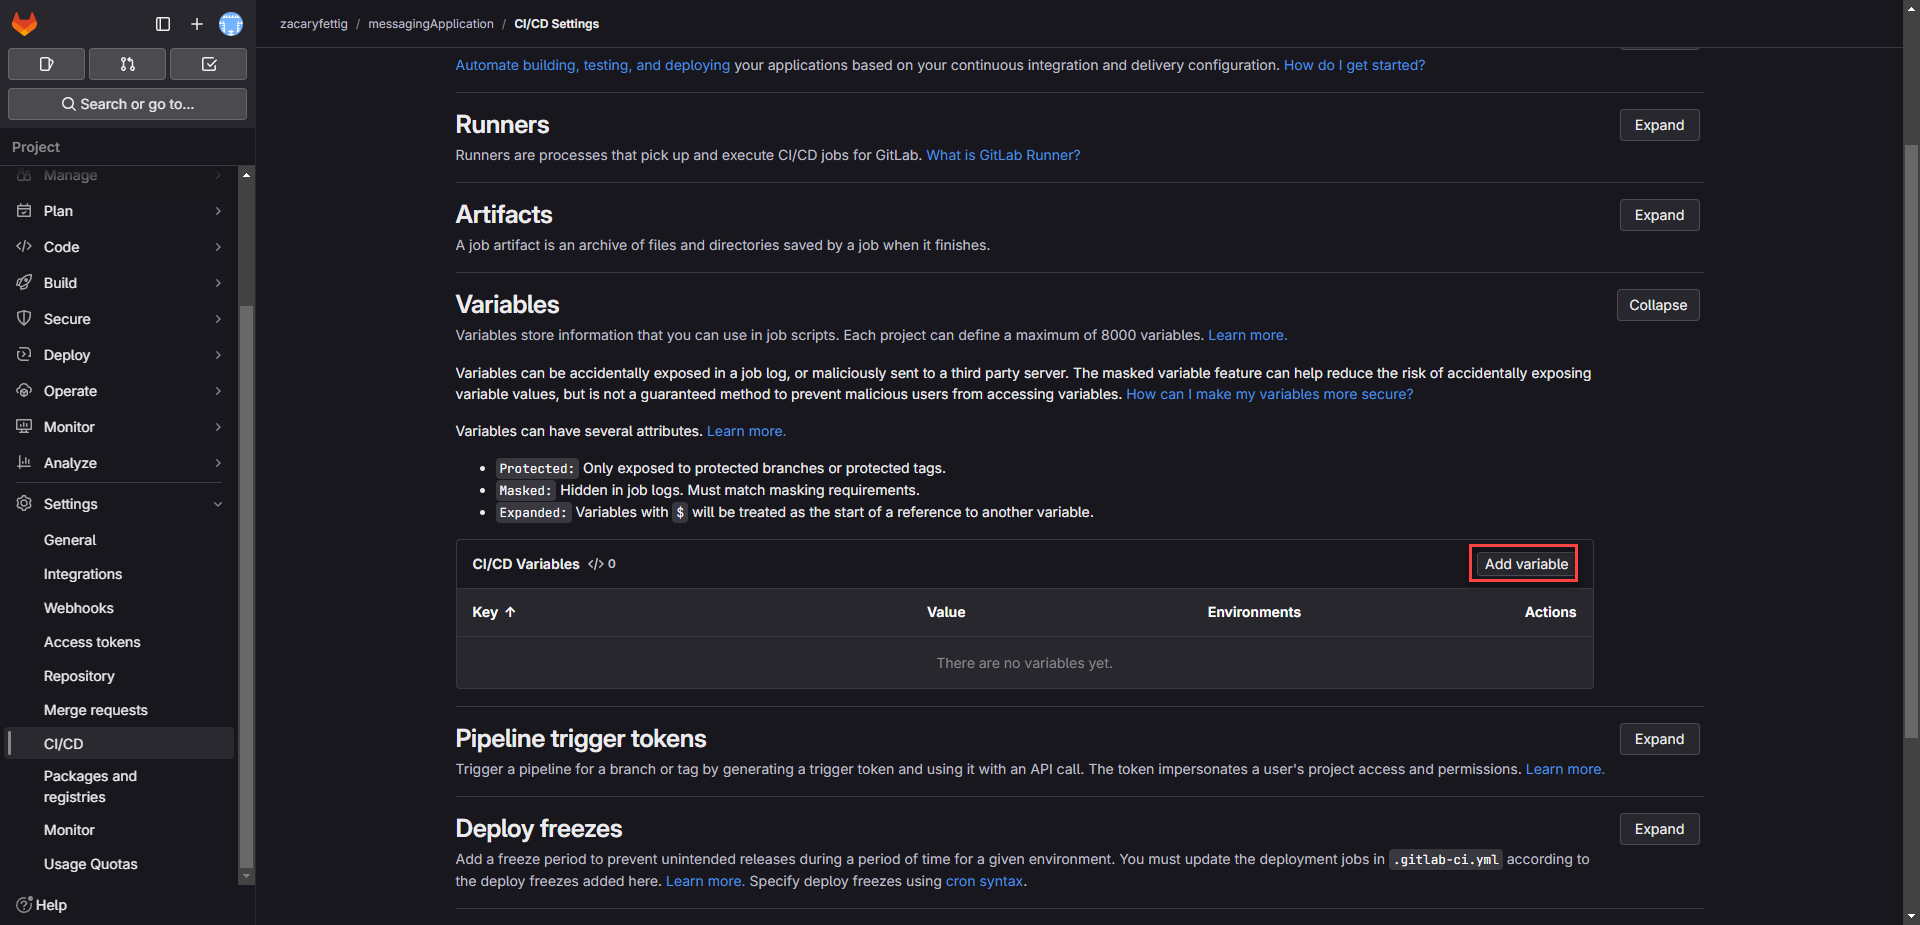
7. On the add variables page, select masked to keep ID out of pipeline/config files. Deselect Protect Variables Add AccessKeyID Key in the Key section.
key = AWS_ACCESS_KEY_ID
Value = AccessKeyID value from saved earlier.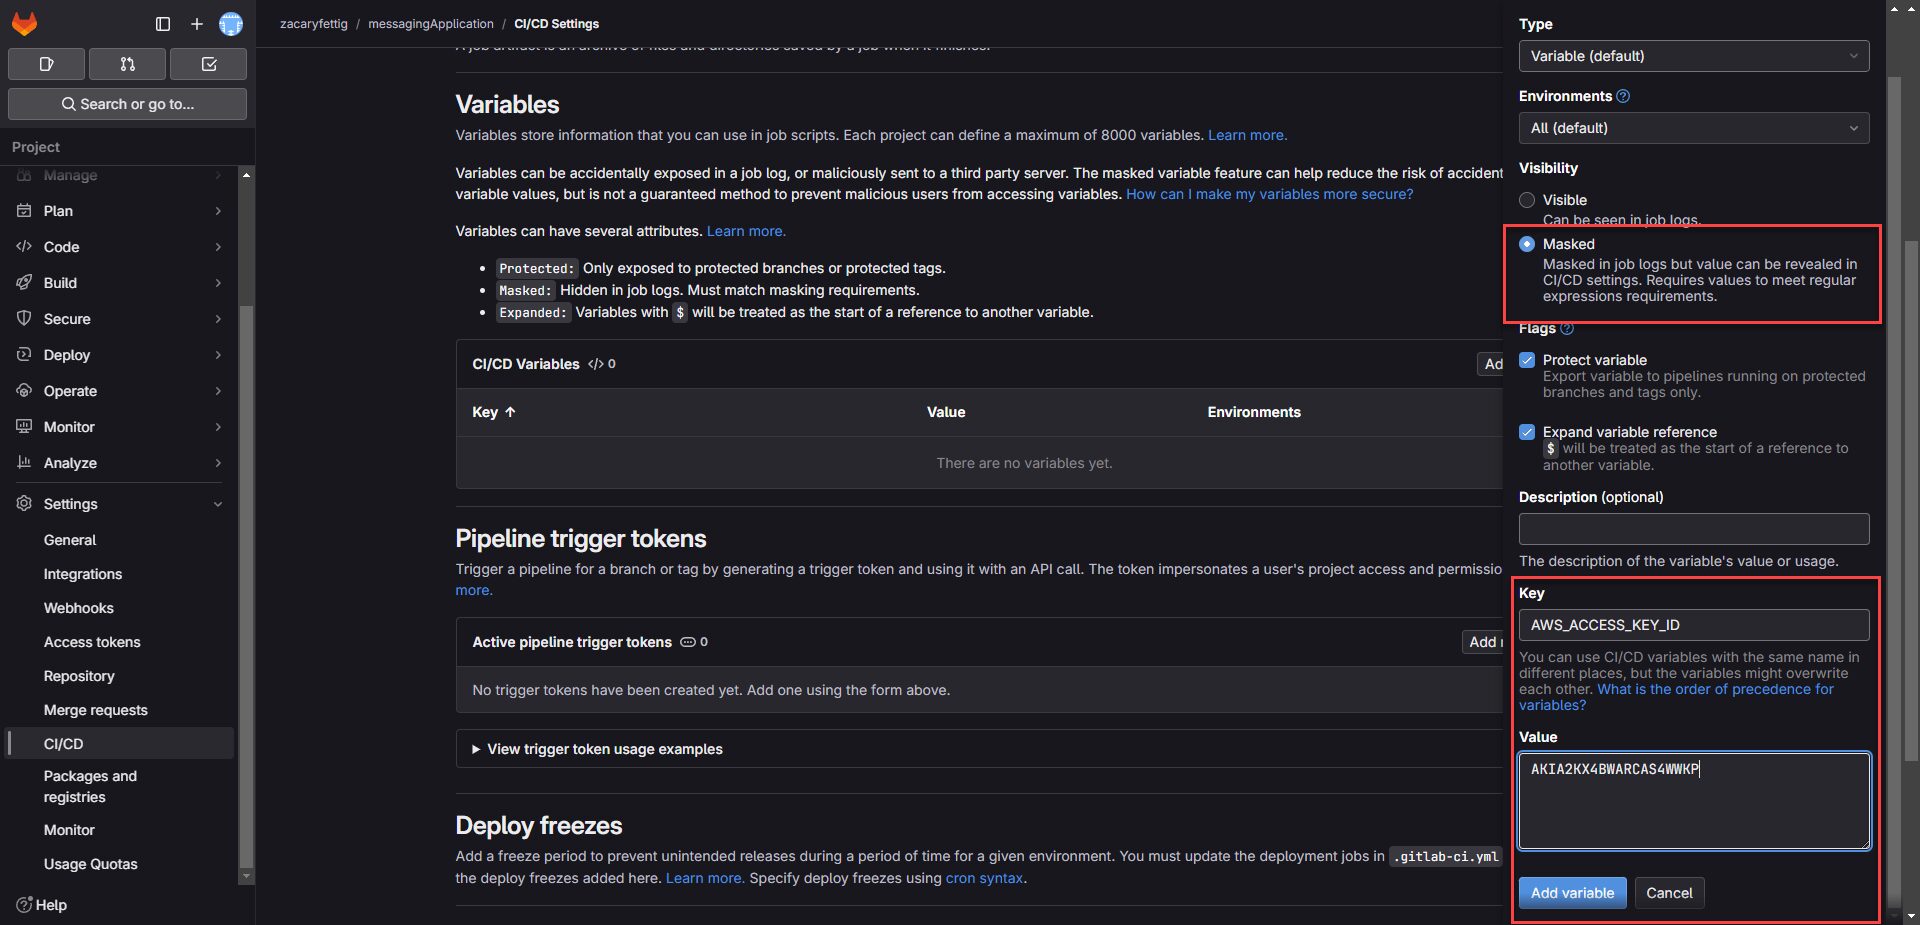
8. Add variable for the Secret Access Key. Select Masked in the add variables page. Deselect Protect Variables.
Key = AWS_SECRET_ACCESS_KEY
Value = Secret Access Key saved from AWS from before.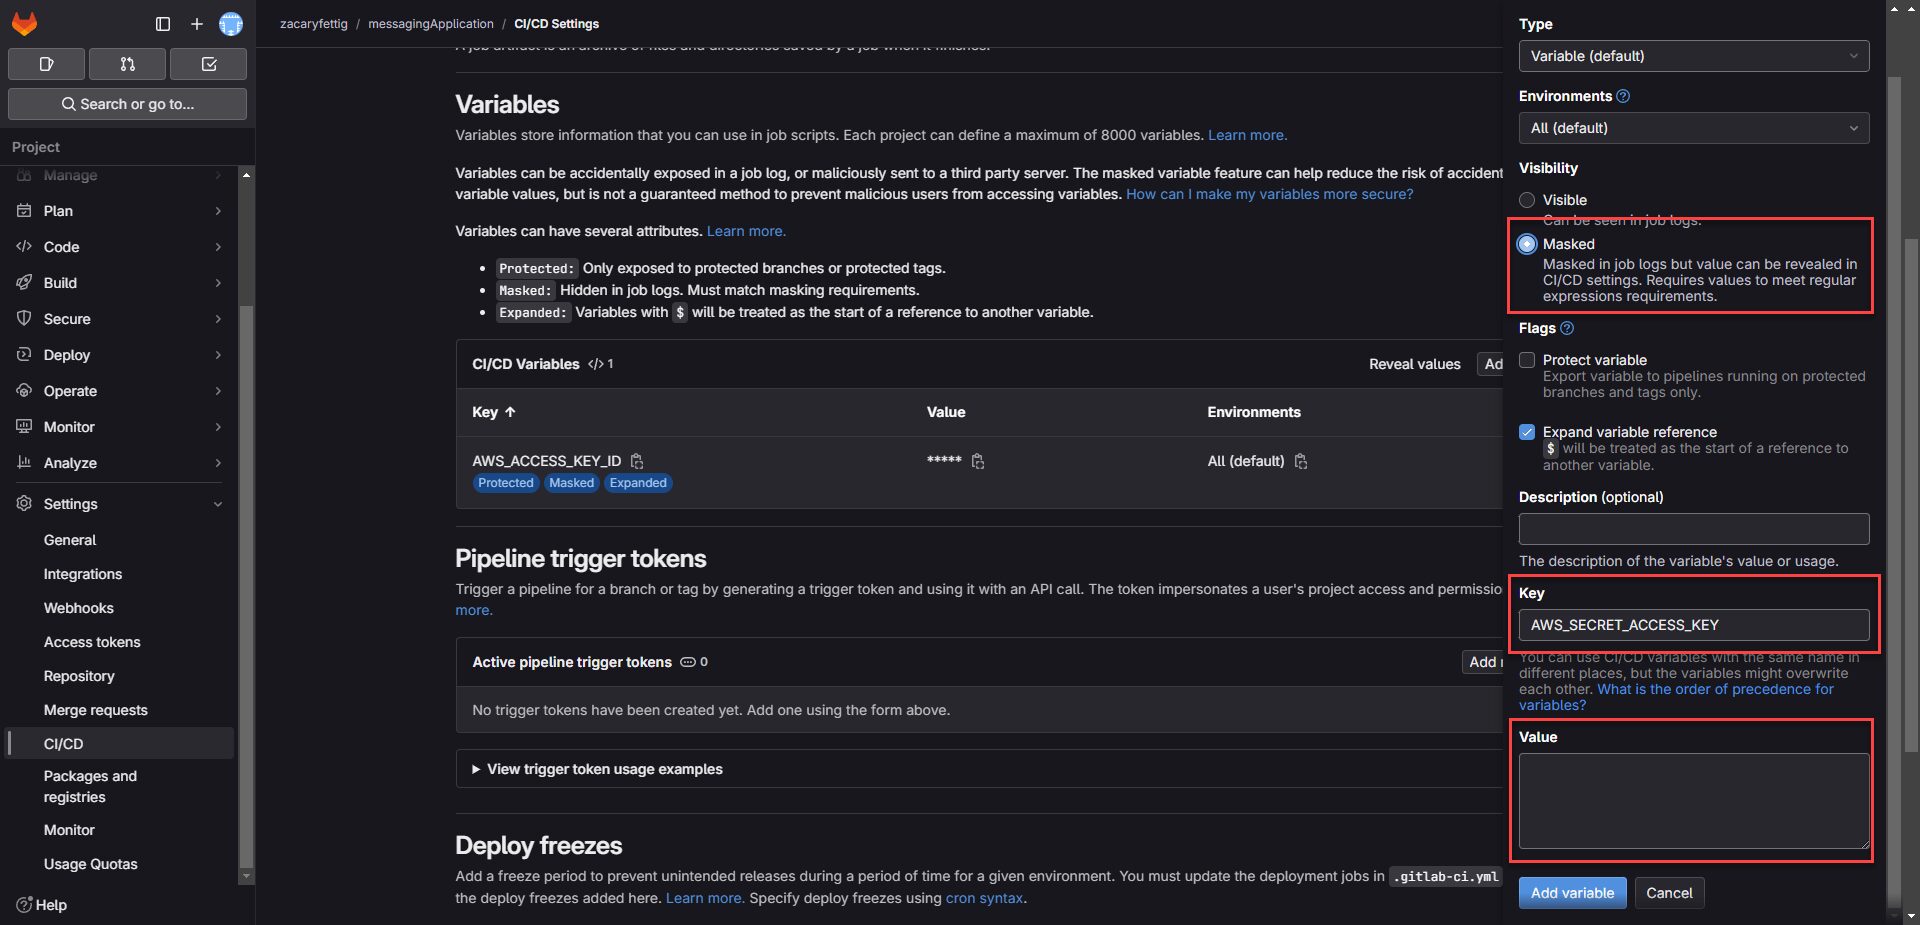
9. Add variable for AWS Account ID. Find the Account ID by selecting the username in the top right corner in the AWS Portal.
key = AWS_Account_ID
value = Account ID from the portal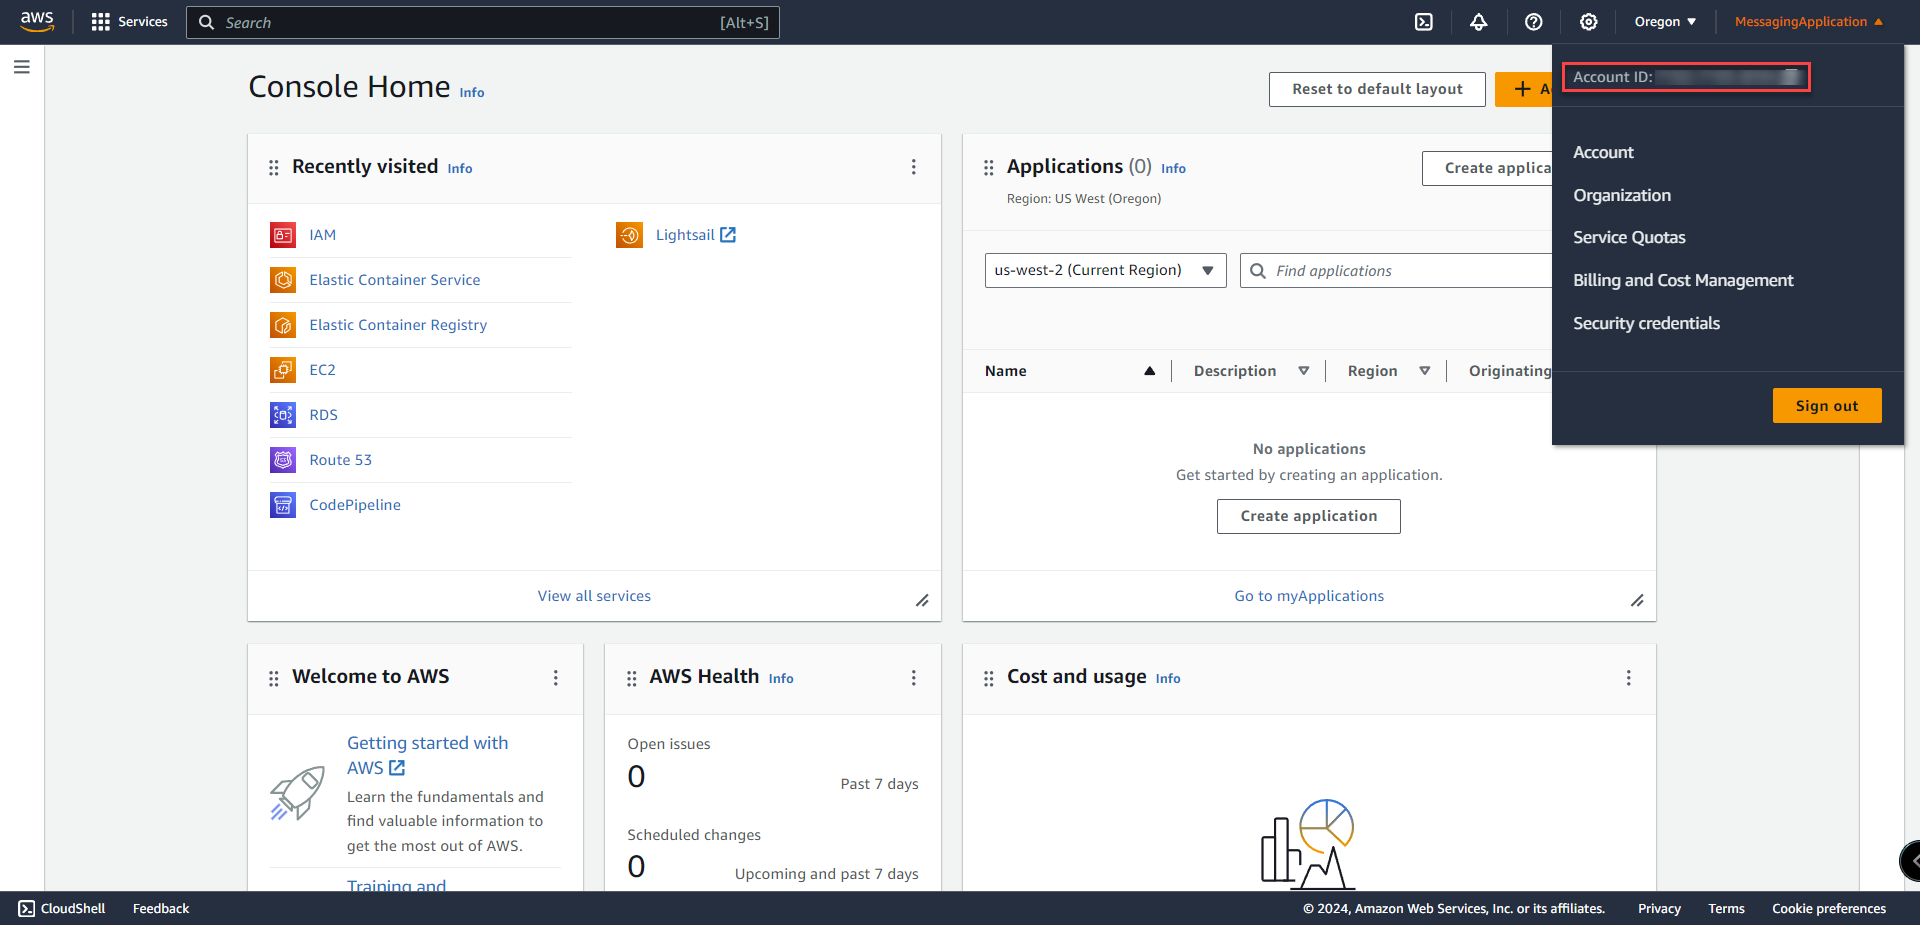
Creating the pipeline
1. In GitLab, select Pipleine editor from the left menu. Select configure pipeline to create gitlab-ci.yaml file and be taken to the editor. 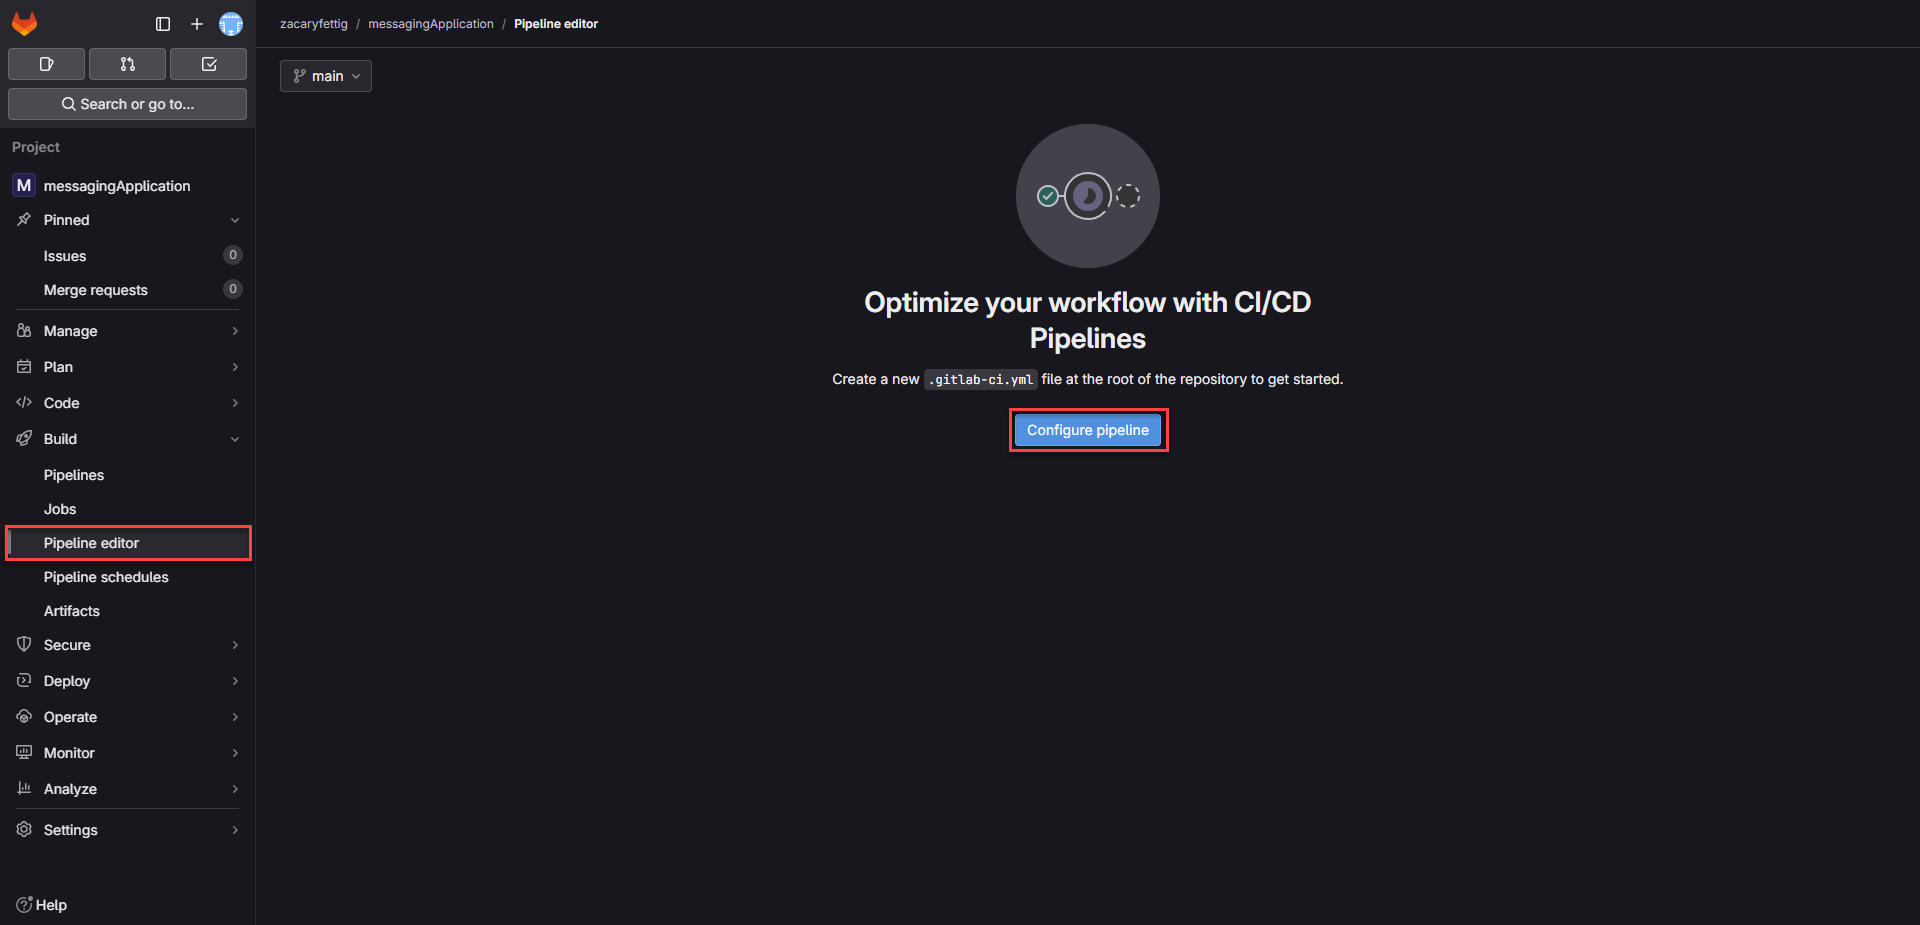
2. Built out the pipeline gitlab-ci file that can be found in both my Github and GitLab page.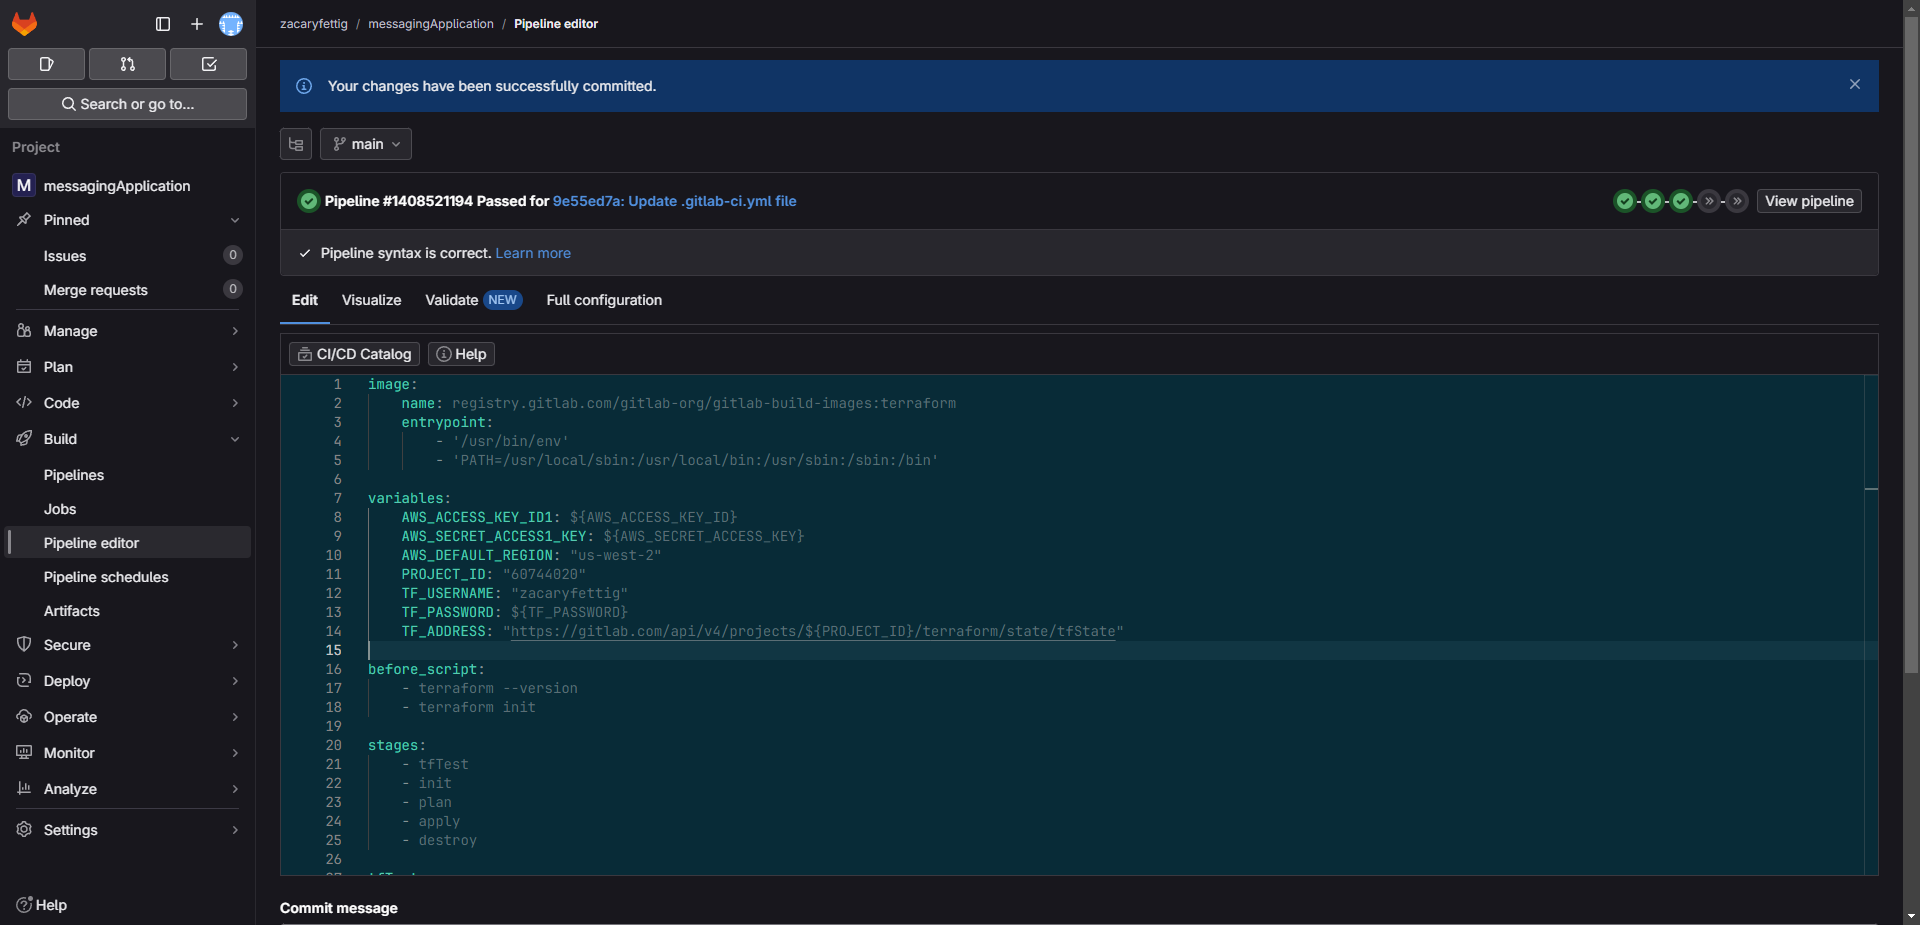
How to setup GitLab to store Terraform Backend State Files in a CI File
1. In the providers section of the Terraform code I added the following code to setup Terraform backend to communicate over http.
Code:
terraform {
backend "http" {
}
}
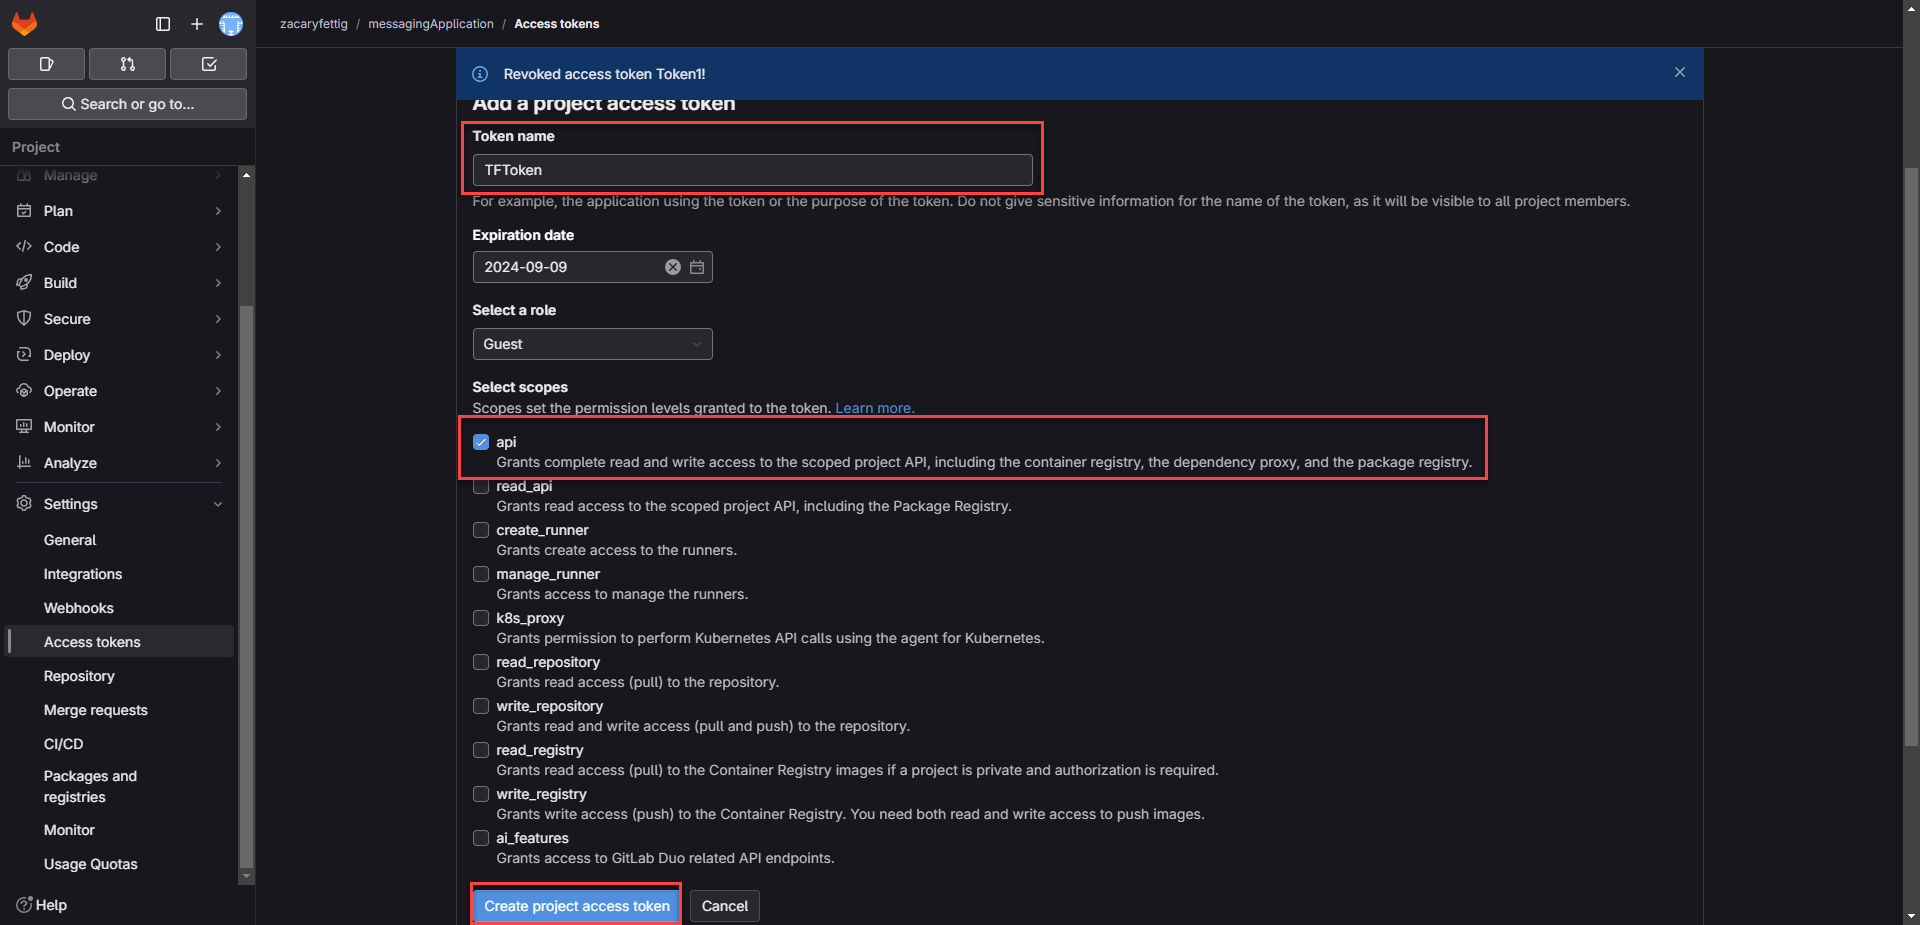
2. In Gitlab Got to the Settings > access token page. Create a new access token. Add a name for the token. Select the scope as api. Select Create access token.
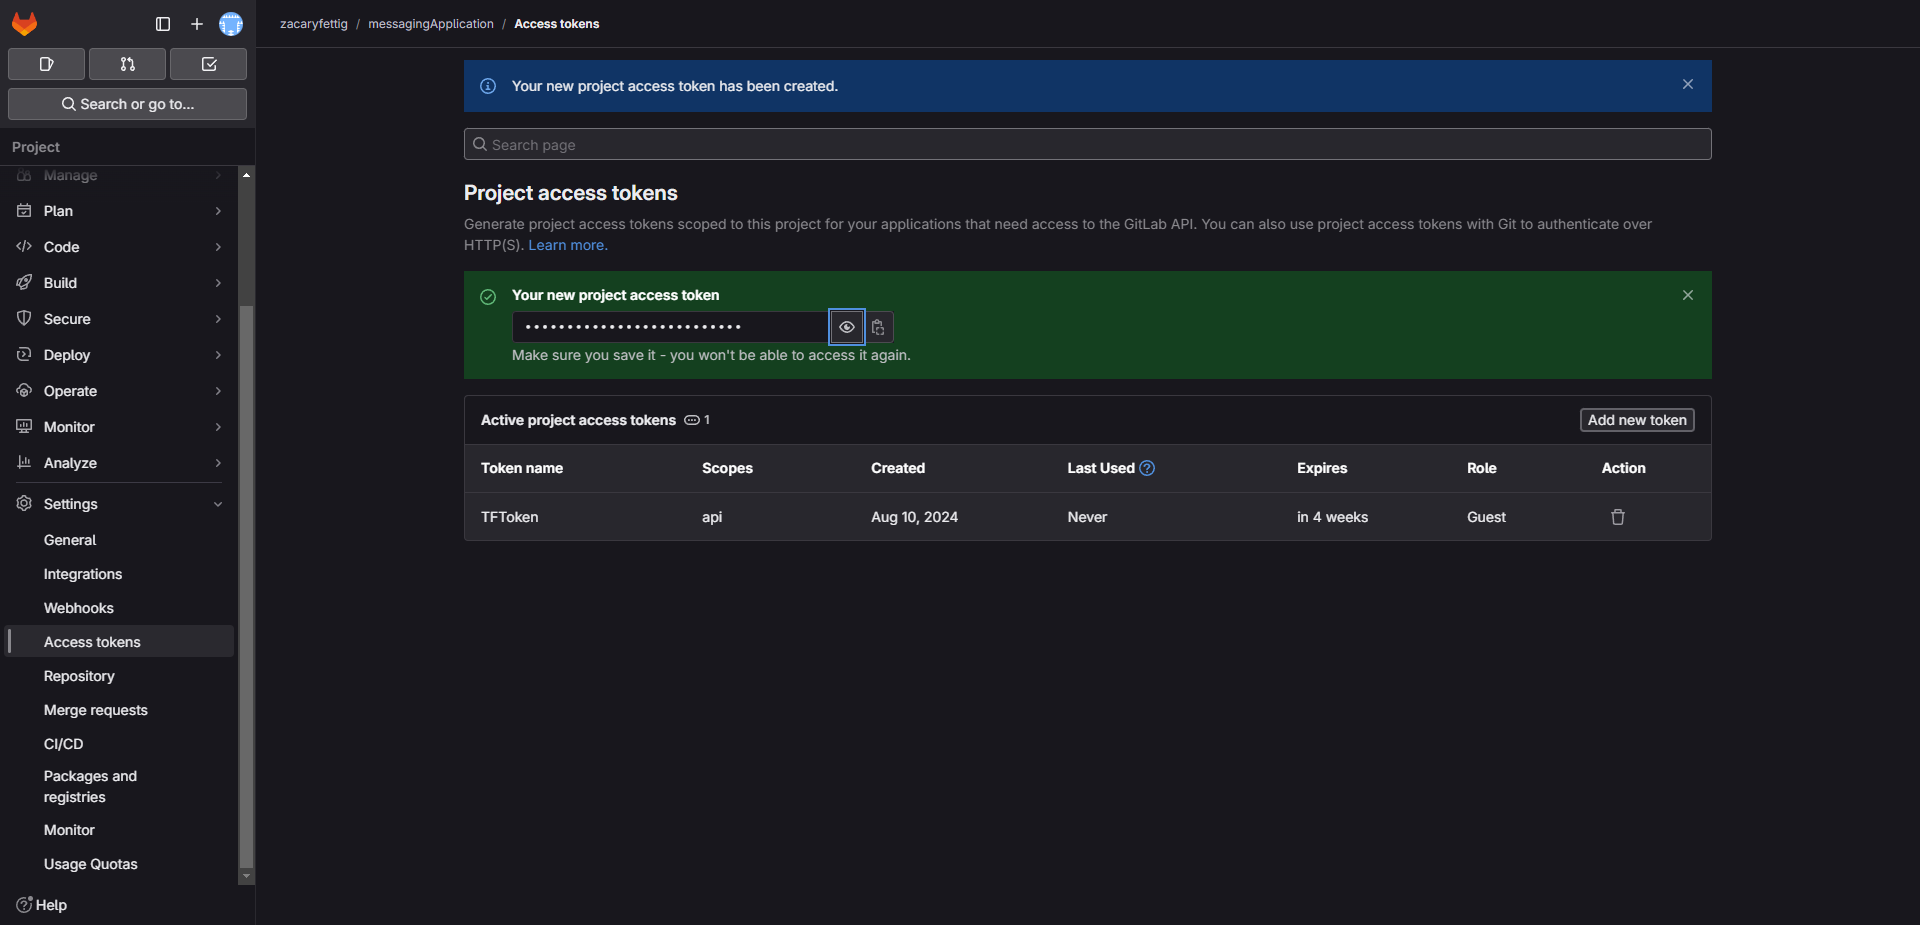
3. Copy the access token for the next step.
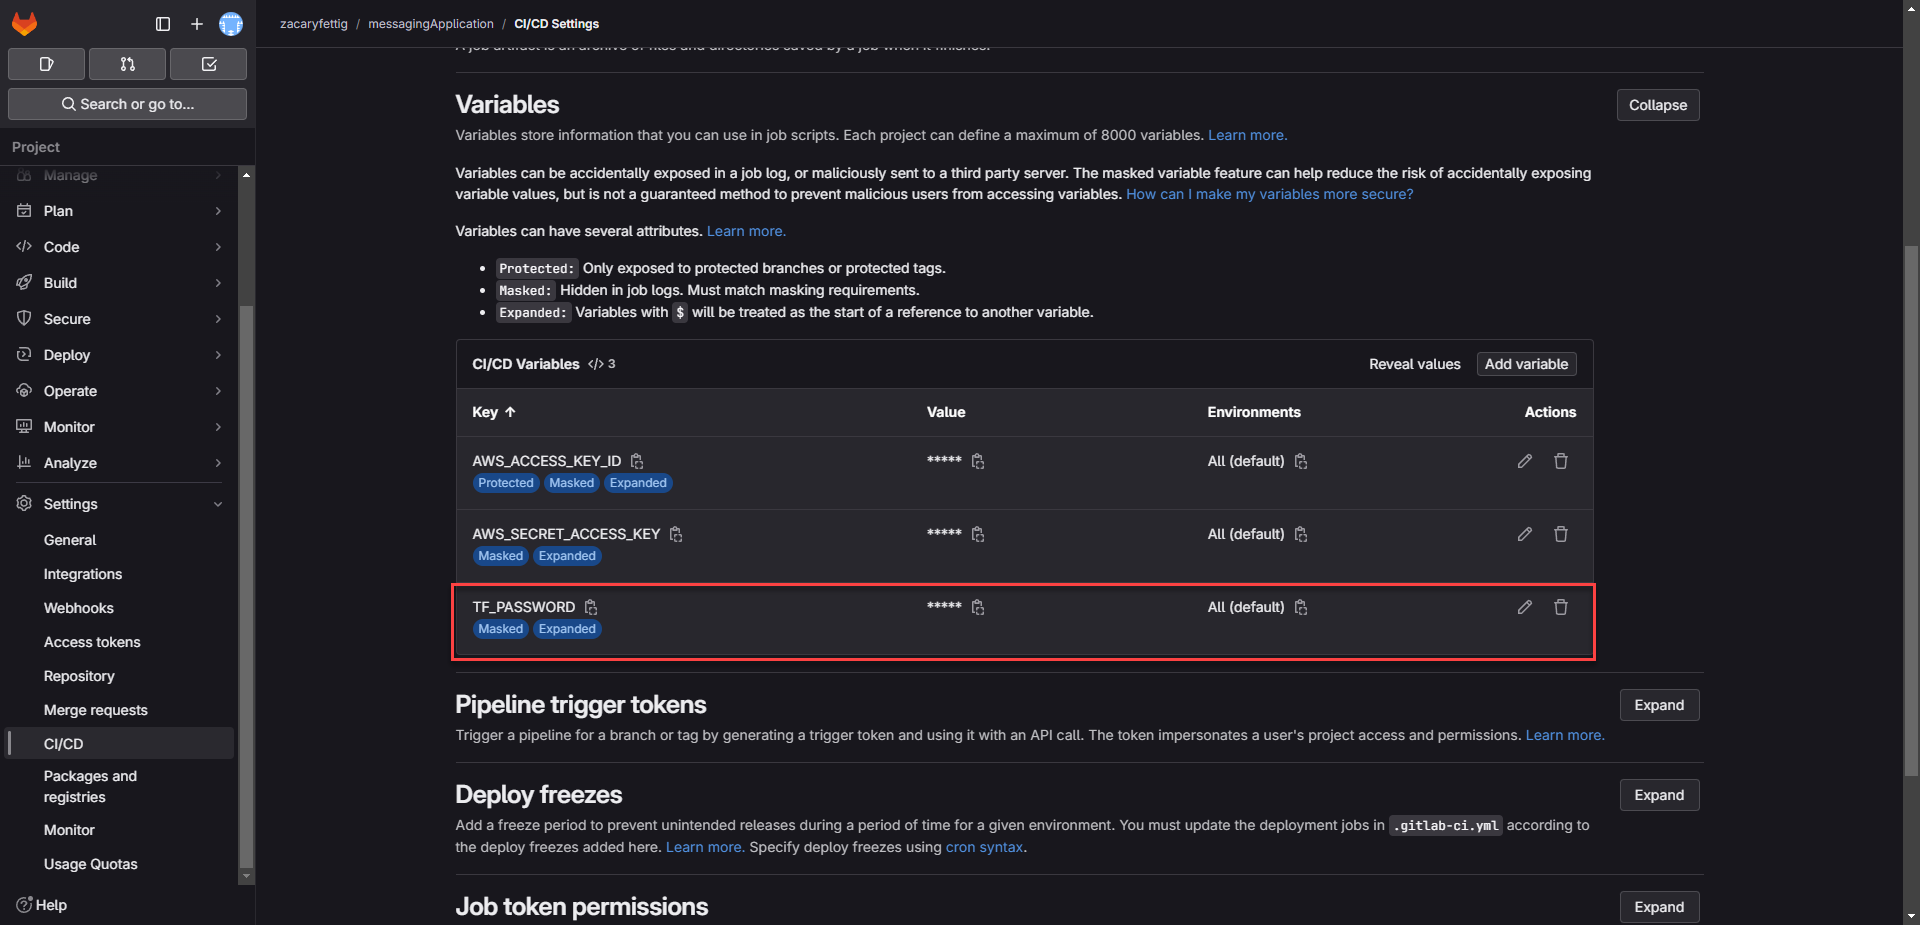
4. Add the access token to the values section of a CI/CD Variable called TF_PASSWORD
2. Add the following to the terraform init command in the pipeline configuration file.
terraform init -backend-config=address=${TF_ADDRESS} -backend-config=lock_address=${TF_ADDRESS}/lock -backend-config=unlock_address=${TF_ADDRESS}/lock -backend-config=username=${TF_USERNAME} -backend-config=password=${TF_PASSWORD} \
-backend-config=lock_method=POST -backend-config=unlock_method=DELETE -backend-config=retry_wait_min=5

3. Configure the following variables in the pipline file:
PROJECT_ID: "<gitlab-project-id>"
TF_USERNAME: "<gitlab-username>"
TF_PASSWORD: ${TF_PASSWORD}
TF_ADDRESS: "https://gitlab.com/api/v4/projects/${PROJECT_ID}/terraform/state/tfState"

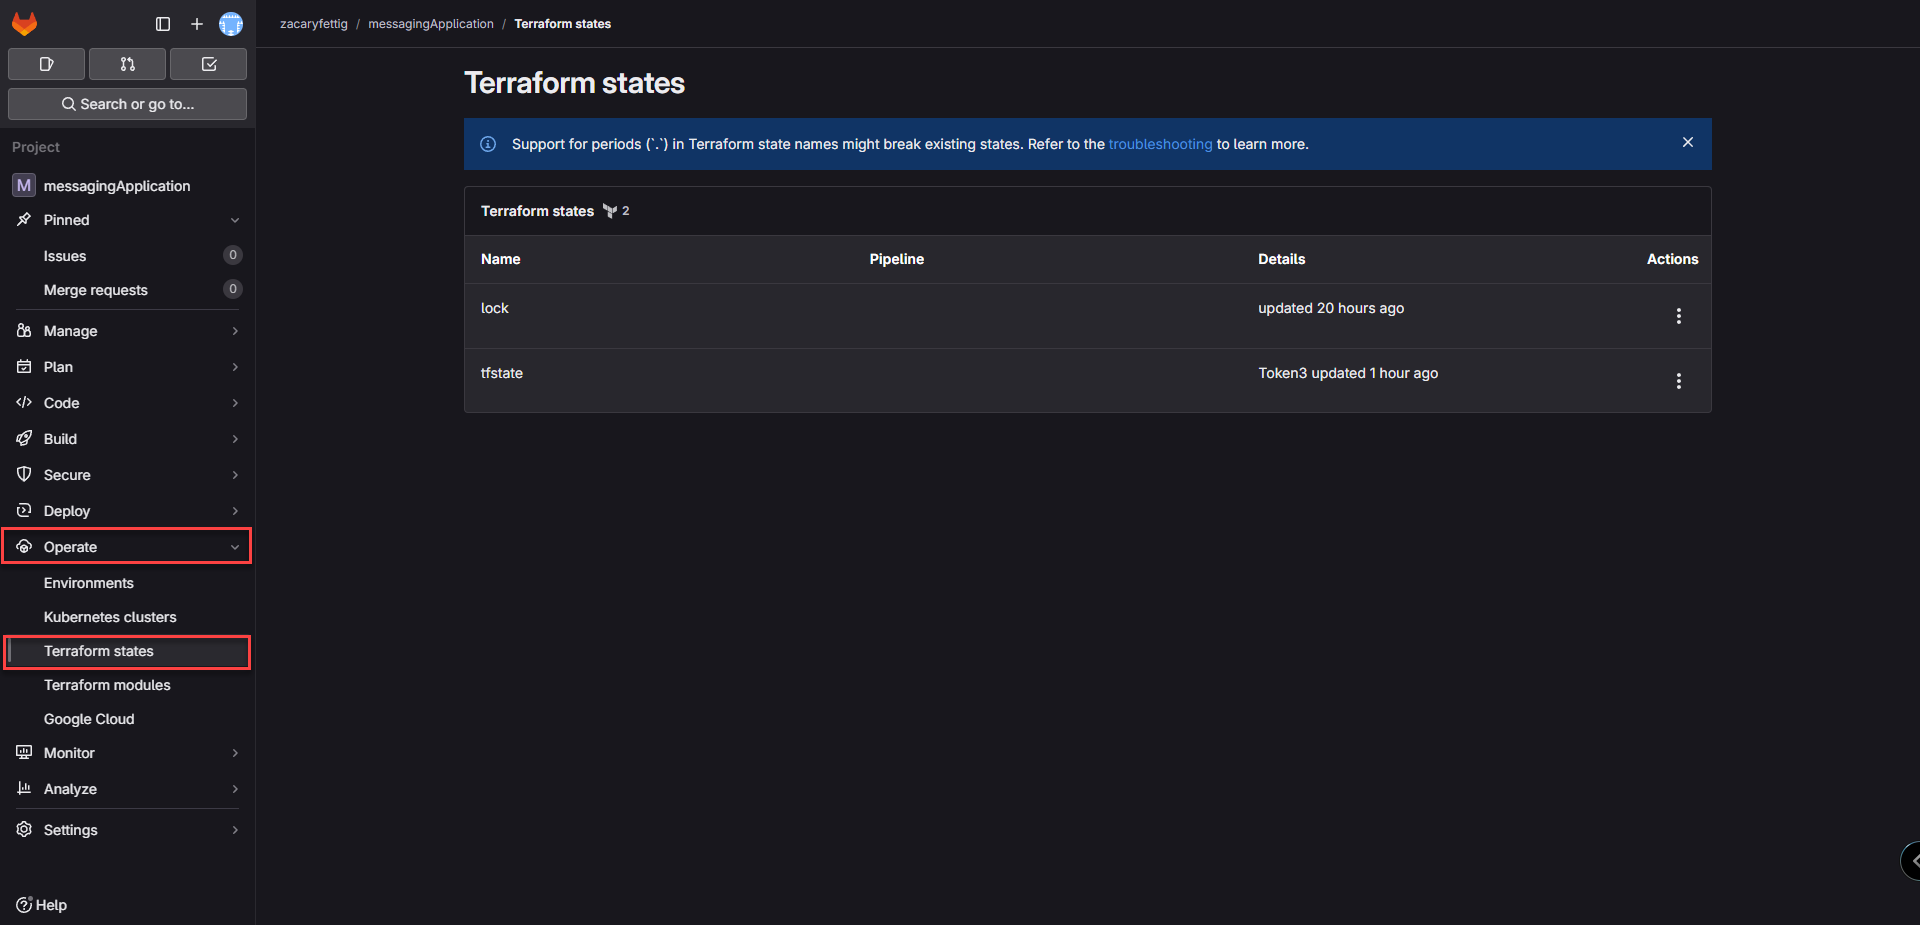
4. Terraform State Files show up on the Terraform states page under the left side menu operate tab.
How to deploy the pipeline in GitLab
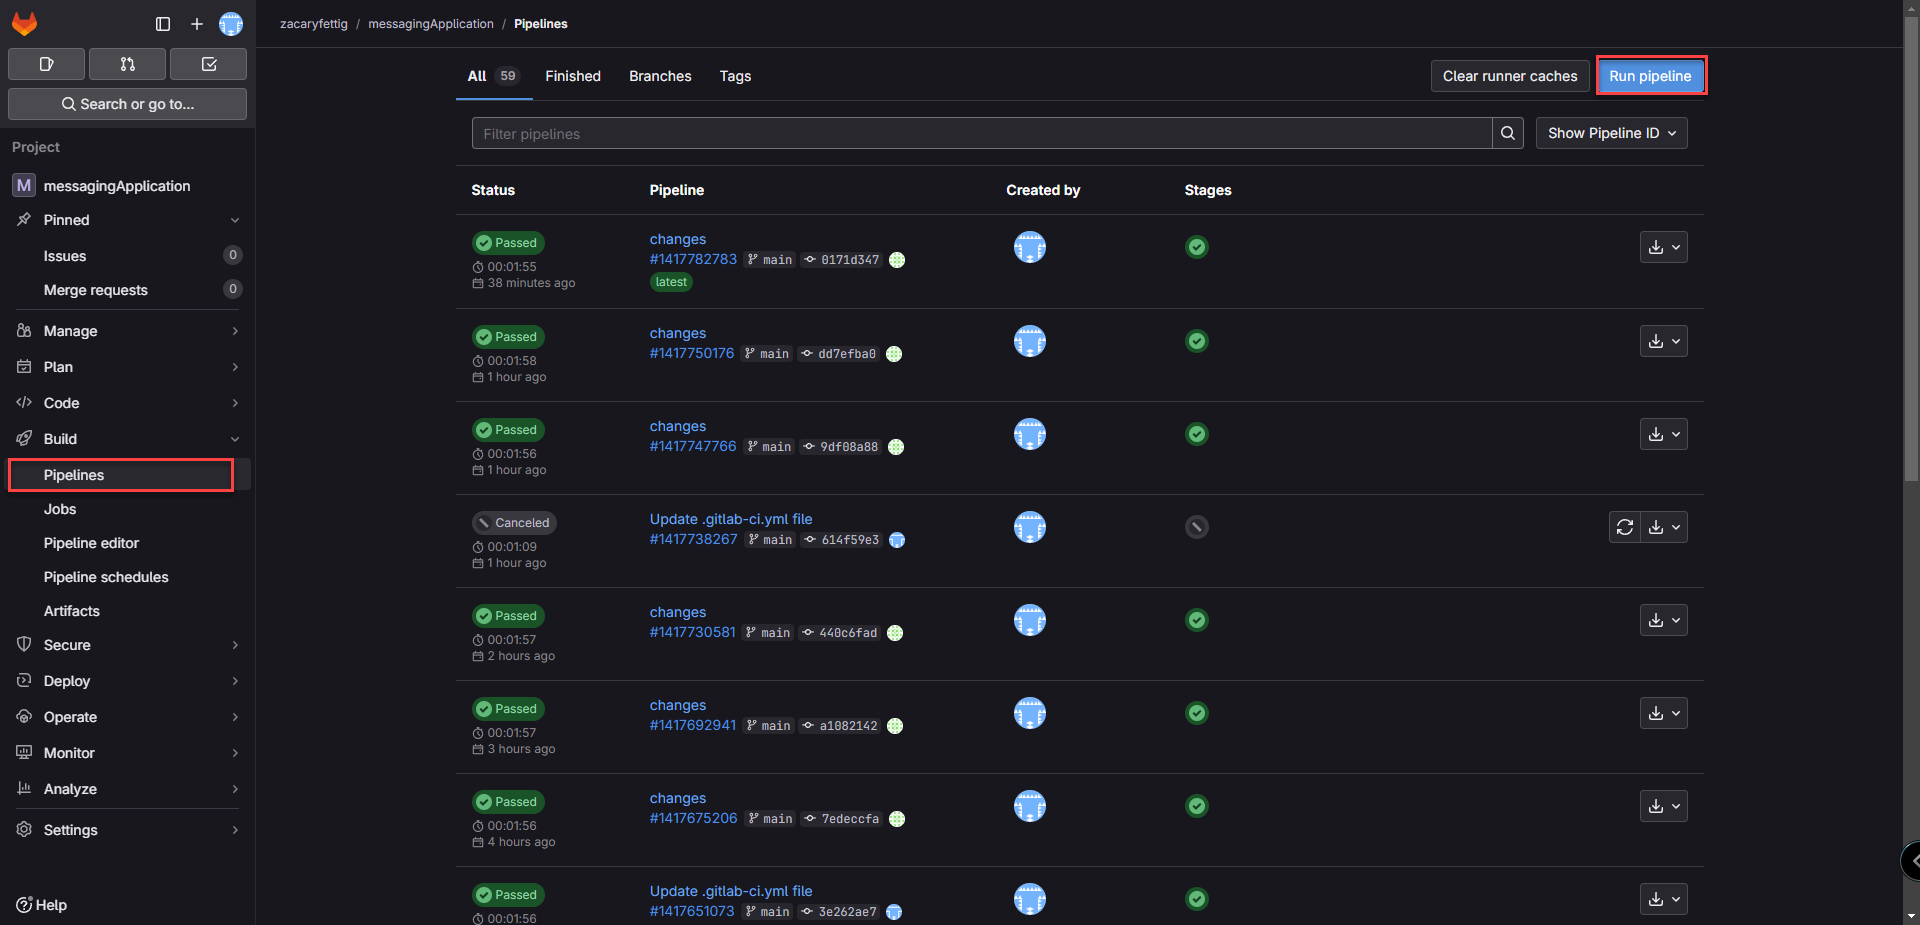
1. Push to the repository or go to the piplines page and select run pipline.
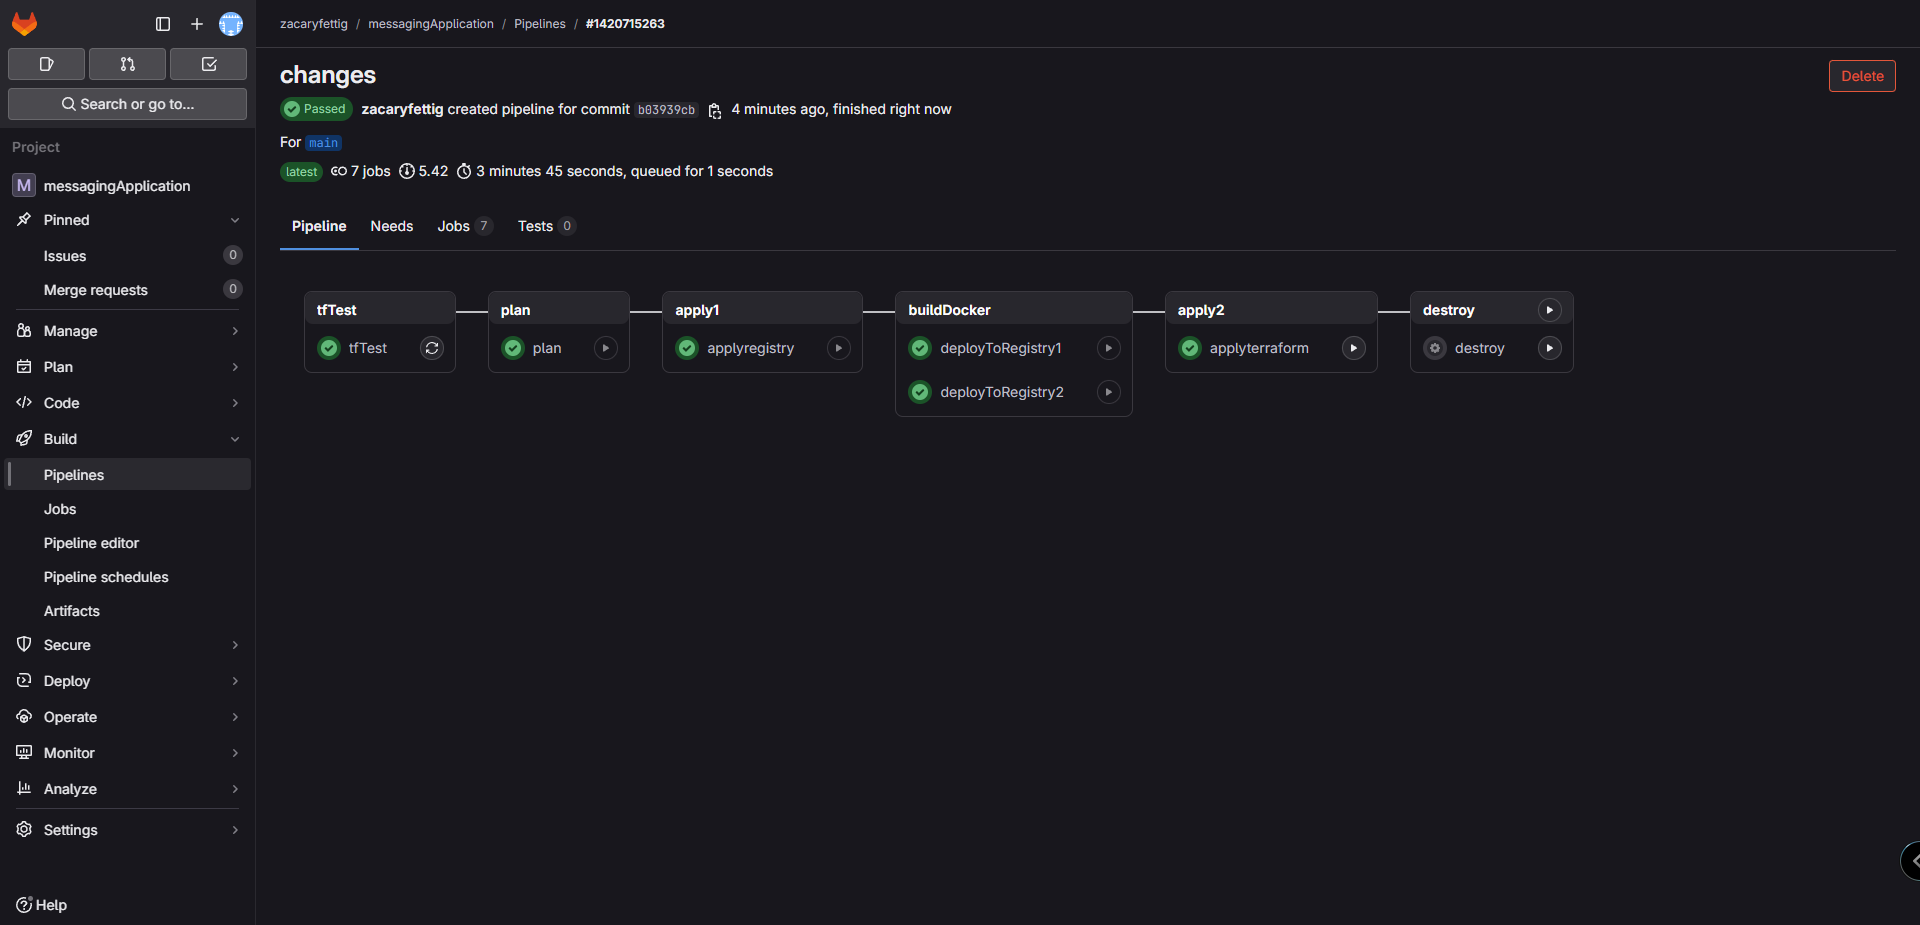
2. Pipeline will run through each stage. Clicking on each stage will show the running processes and any errors upon stage failure.
Accessing Web Application
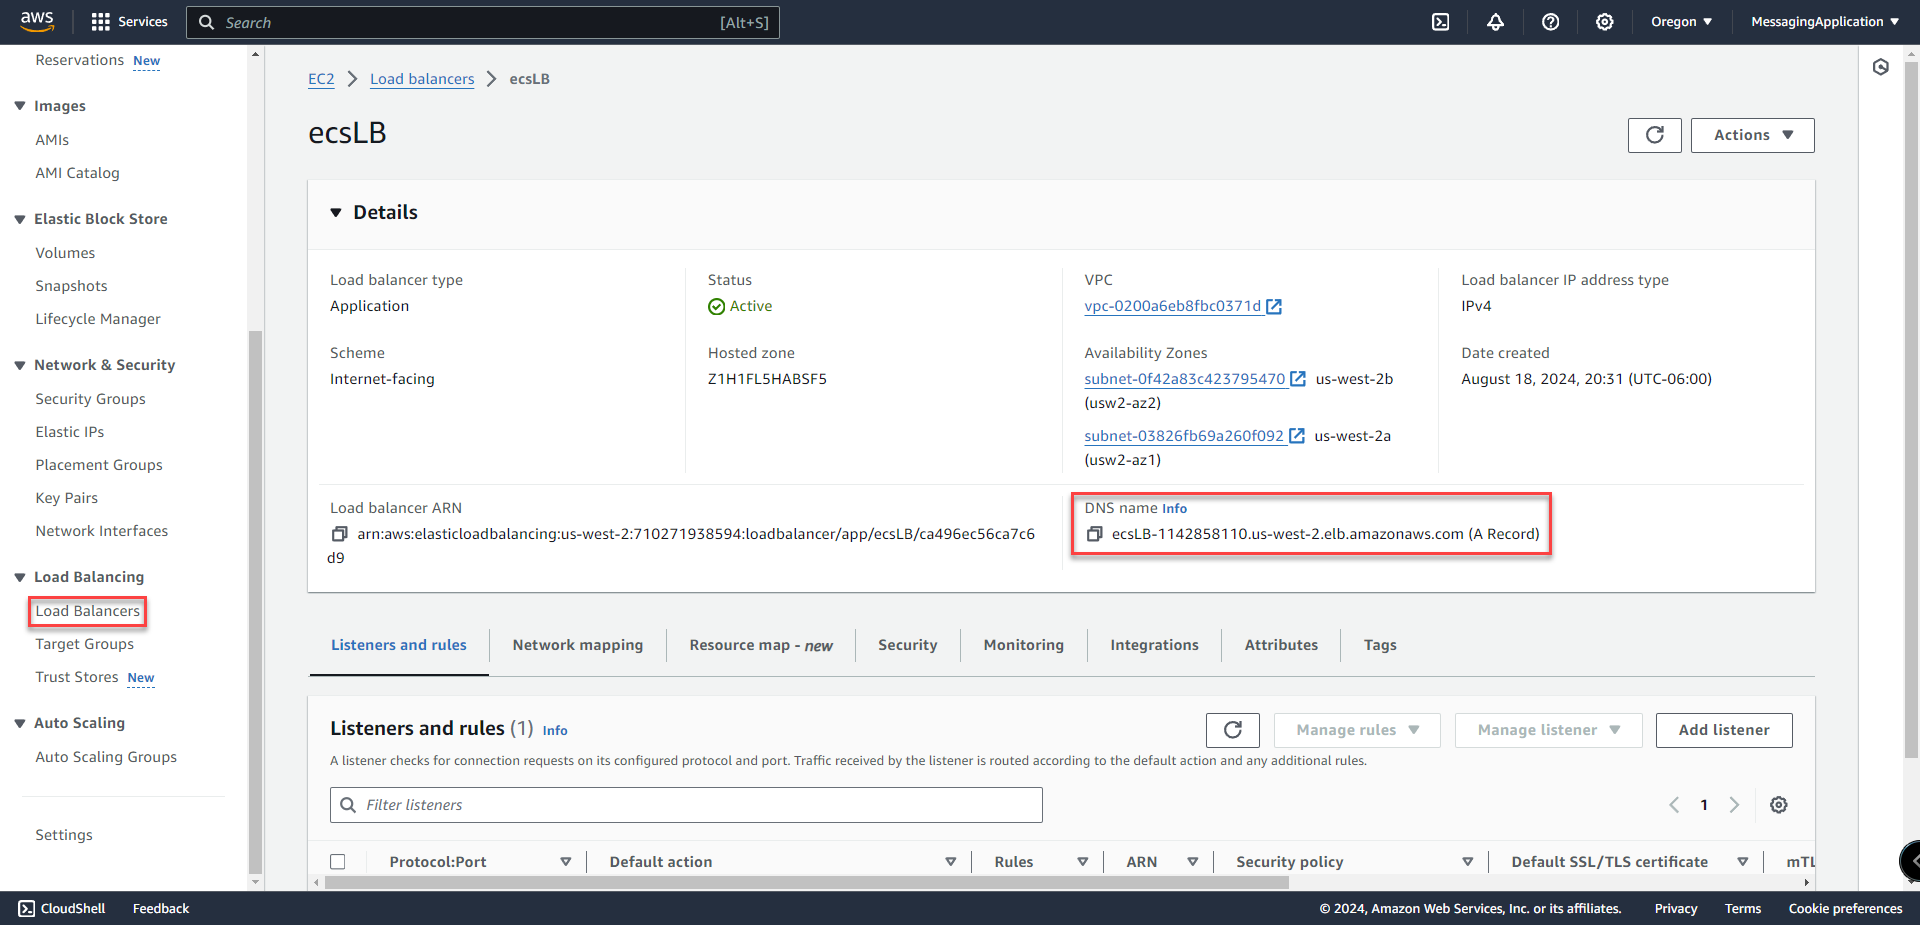
1. Search for EC2 in the AWS Console
2. On the left side menu select Load Balancers. The dns name listed on the load balancer page will connect to the Chat Messaging Application. Add port 5000 to the dns url.
Example: ecsLB-1142858110.us-west-2.elb.amazonaws.com:5000
Final Deployed Project Application
